 Save to Pinterest
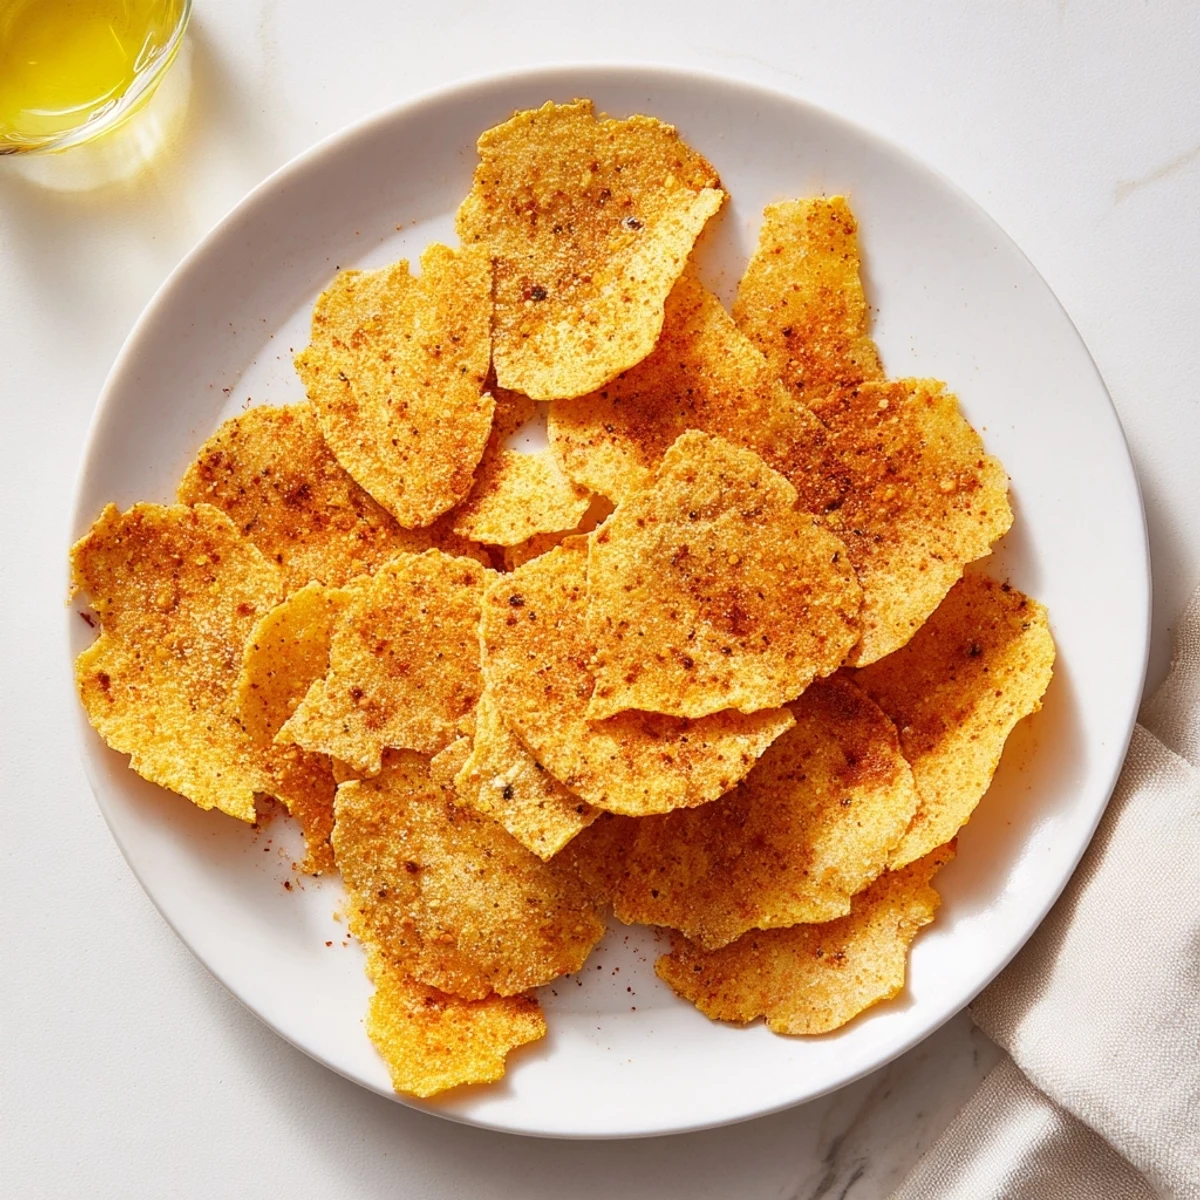
 Create your own crispy chickpea flour chips at home with just a few simple ingredients. These savory snacks combine chickpea flour with smoked paprika, garlic powder, and cumin for a deeply flavorful crunch. The batter spreads thin and bakes until golden, creating irresistible chip-sized pieces perfect for dipping or enjoying solo. Ready in under an hour, these naturally vegan and gluten-free treats store well for several days.
The rain was hammering against the kitchen window and I had exactly nothing in the pantry worth snacking on, until a bag of chickpea flour caught my eye from the back corner. Forty minutes later I was curled on the couch with a plate of shatteringly crisp golden chips and a podcast, wondering why I had never tried this before. They were so ridiculously simple that I made another batch the very next afternoon.
I brought a batch to a friends movie night expecting them to sit untouched next to the store bought chips, but they vanished before the opening credits finished rolling. Now everyone asks me to bring them every single time.
Ingredients
- Chickpea flour (1 cup): This is the backbone of the entire recipe so grab a fresh bag if yours has been sitting open for months because stale flour tastes flat and bitter.
- Salt (1/2 tsp): Just enough to wake everything up without overpowering the nutty chickpea flavor.
- Smoked paprika (1/2 tsp): This is what makes people close their eyes and guess what the secret ingredient is.
- Garlic powder (1/4 tsp): A quiet background note that you would miss if it were gone.
- Ground cumin (1/4 tsp): Adds warmth and ties the spices together beautifully.
- Black pepper (1/4 tsp): Freshly cracked makes a real difference here.
- Water (1/2 cup): Use room temperature water so the batter comes together smoothly.
- Olive oil (2 tbsp plus extra for brushing): The oil in the batter keeps them tender inside while the brushed oil on top creates that irresistible golden crust.
Instructions
- Set the stage:
- Preheat your oven to 180 degrees Celsius which is 350 degrees Fahrenheit and line a baking sheet with parchment paper. This is not the moment to skip the parchment because these chips will stubbornly stick to bare metal.
- Whisk the dry team:
- In a mixing bowl whisk together the chickpea flour salt smoked paprika garlic powder cumin and black pepper until evenly combined. Take a moment to breathe in that smoky aroma rising from the bowl.
- Bring it together:
- Pour in the water and two tablespoons of olive oil then mix until you have a smooth thick batter with no dry pockets. It should look like a loose pancake batter and flow slowly when you lift the whisk.
- Spread it thin:
- Pour the batter onto your prepared baking sheet and use a spatula to spread it into an even layer about two to three millimeters thick. Work from the center outward and do not worry about perfect edges because ragged pieces get extra crispy.
- Give it a gloss:
- Brush the top lightly with a little more olive oil making sure to reach the edges. This is what turns golden into gorgeous during baking.
- Bake to golden glory:
- Slide the sheet into the oven and bake for twenty to twenty five minutes until the surface is golden and the edges are curling and crisp. Keep an eye on it after the eighteen minute mark because the shift from perfect to overdone happens fast.
- Cool and break:
- Remove from the oven and let it cool for about five minutes on the sheet. Then cut into neat rectangles with a knife or simply break it into rustic pieces with your hands for a more casual look.
 Save to Pinterest
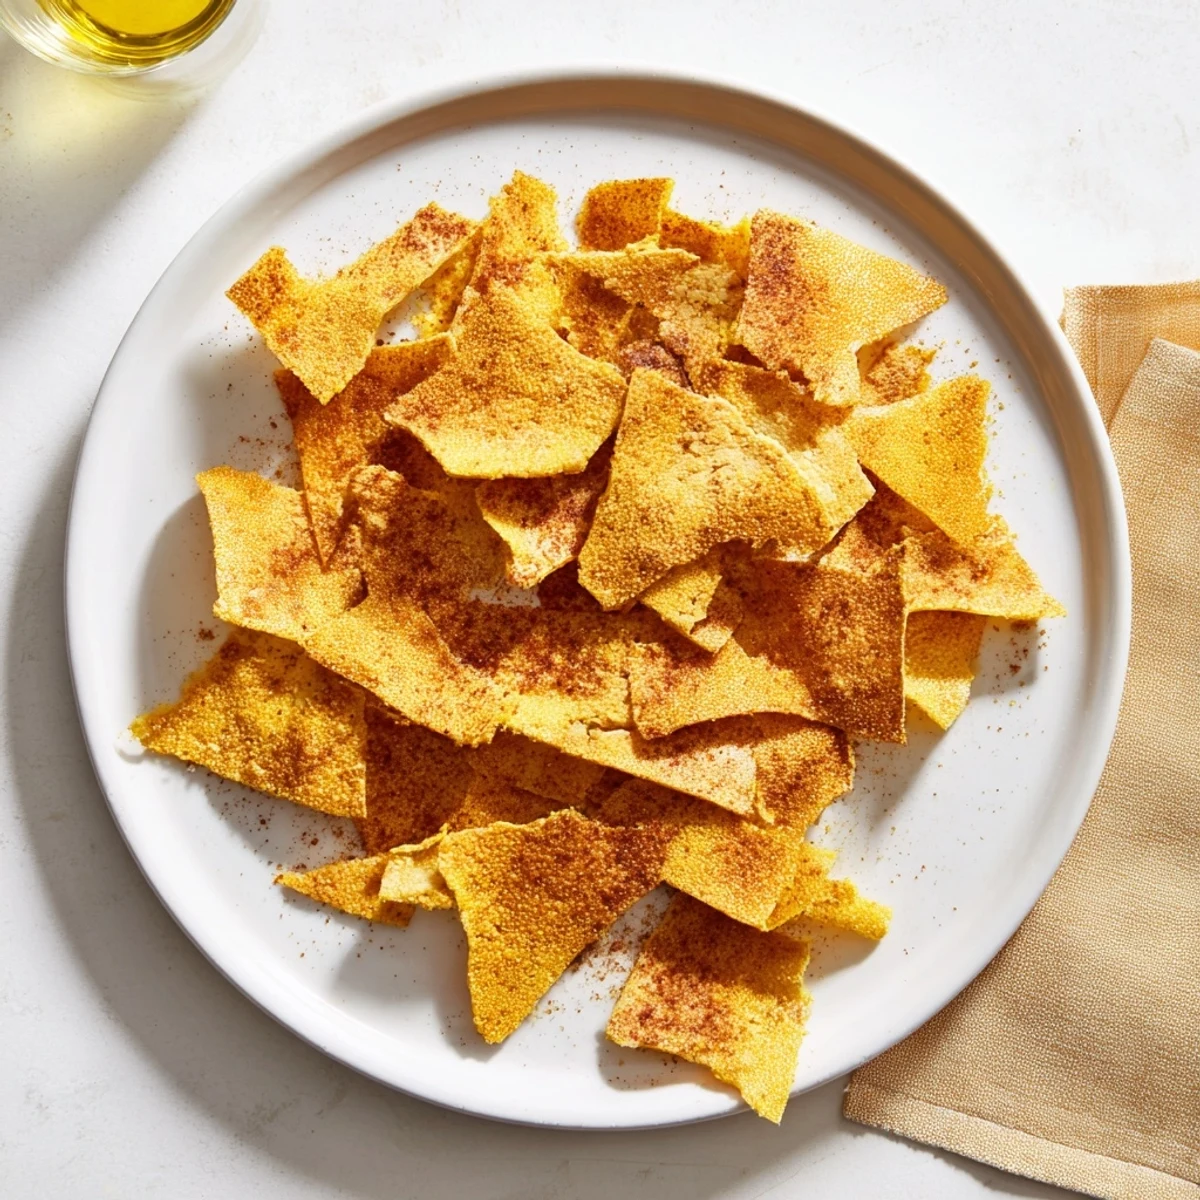
 There is something deeply satisfying about cracking a giant golden sheet into imperfect jagged chips and piling them onto a plate. It feels resourceful and old fashioned in the best possible way.
Keeping Them Crisp
These chips are at their absolute best within the first hour of coming out of the oven when the crunch is still loud and confident. If you need to store them an airtight container at room temperature works for up to three days but lay them flat and avoid stacking or the moisture trapped between layers will soften them.
Dips That Pair Well
Hummus is the obvious and wonderful choice but these chips also hold up beautifully to thick guacamole or a bright spoonable salsa. For something unexpected try them with a lemony tahini drizzle or a cooling cucumber mint yogurt if you are not keeping it strictly vegan.
Making It Your Own
The spice blend here is a starting point not a rule book. Once you feel comfortable with the basic technique start experimenting because the batter is forgiving and enthusiastic about new flavors.
- Add a tablespoon of chopped fresh rosemary or thyme to the dry mix for an herby upgrade.
- A pinch of cayenne or chili flakes changes the whole personality into something bolder.
- Always taste a tiny bit of the raw batter for salt and spice before spreading it out because adjustments are impossible after baking.
 Save to Pinterest
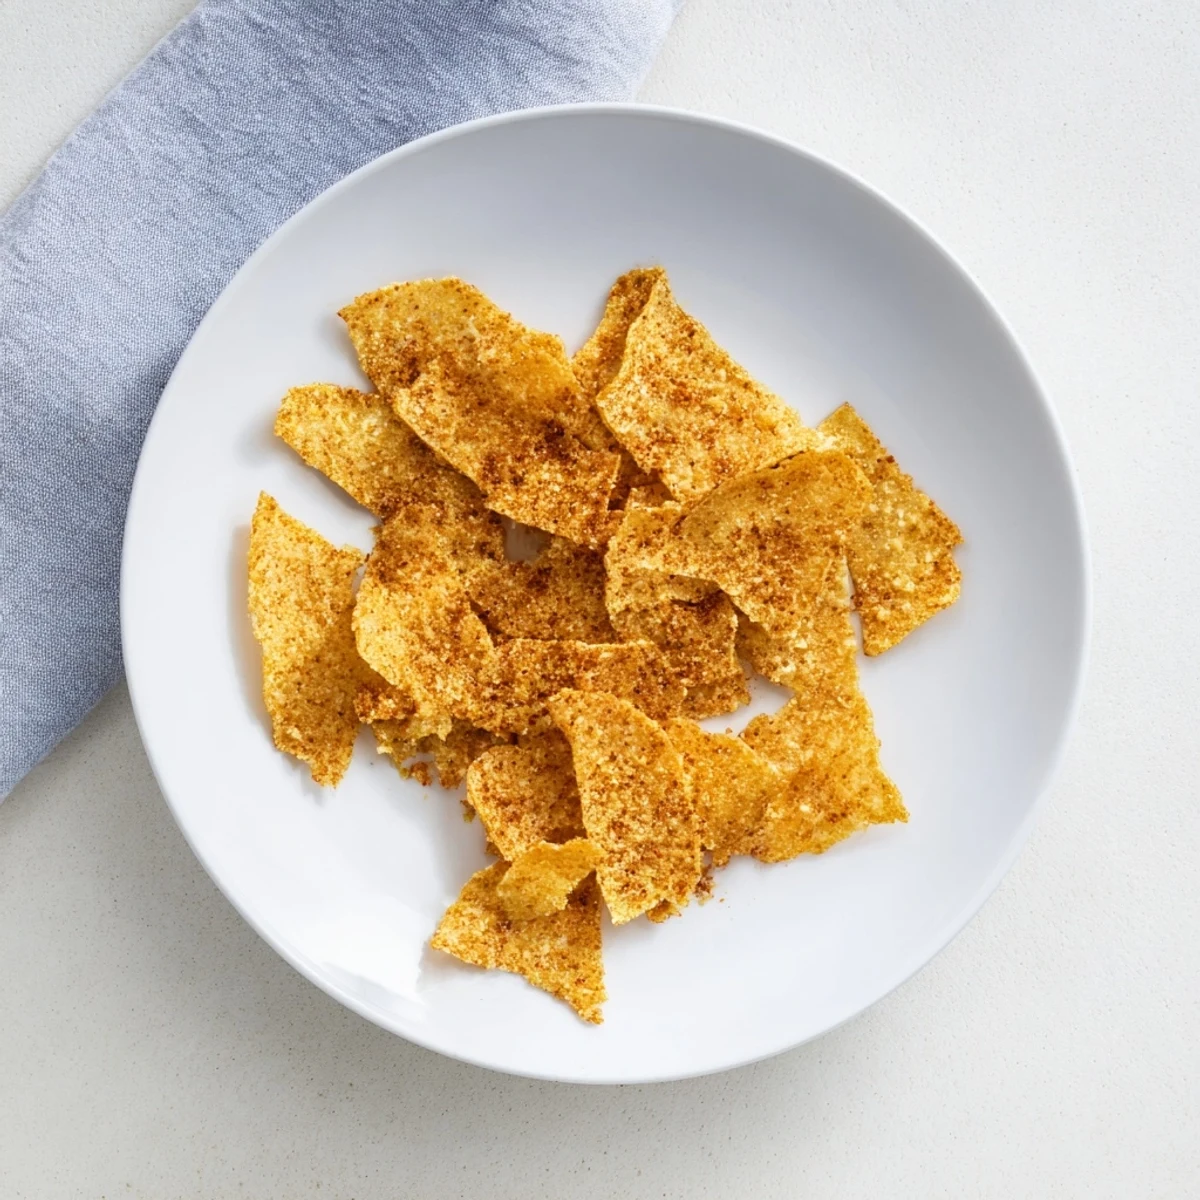
 A warm plate of these golden chips and good company is honestly all the snack planning you will ever need.
Recipe FAQs
- → What does chickpea flour taste like?
-
Chickpea flour has a mild, nutty flavor with subtle earthy notes. When baked with spices like smoked paprika and garlic, it develops a savory profile similar to traditional chips while remaining naturally gluten-free.
- → How do I get the crispiest results?
-
Spread the batter as thinly as possible, ideally 2-3mm thick. Flip halfway through baking and brush lightly with olive oil. Let cool completely before breaking into pieces to achieve maximum crunch.
- → Can I use different spices?
-
Absolutely. Try curry powder, nutritional yeast, chili powder, or dried herbs like rosemary and thyme. The neutral chickpea flour base adapts well to various flavor combinations.
- → How long do these stay fresh?
-
Store cooled chips in an airtight container at room temperature for up to 3 days. If they lose some crispiness, pop them back in the oven for 5-10 minutes to refresh.
- → What dips work well with chickpea chips?
-
These pair perfectly with hummus, guacamole, salsa, or tzatziki. Their sturdy texture holds up well to thick dips and spreads.
- → Can I make these without a rolling pin?
-
Yes. Simply use a spatula to spread the batter directly on the baking sheet. The batter is thick enough to control easily without needing special tools.