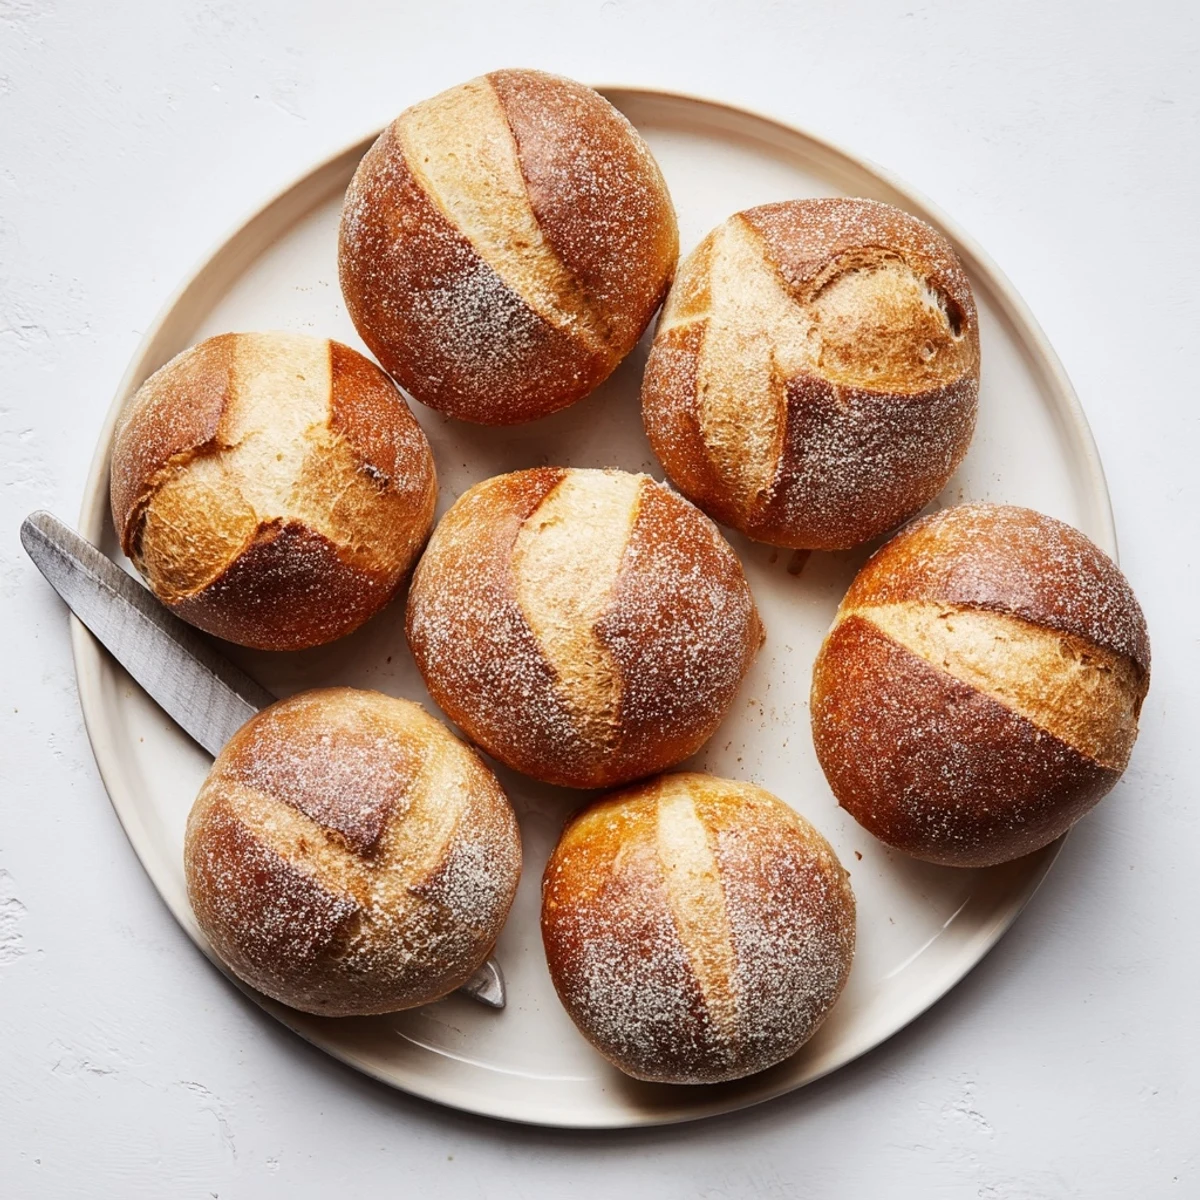
 Save to Pinterest
 Create bakery-quality French bread rolls with golden, crispy crusts and tender, airy interiors. This classic method takes just 20 minutes of active preparation and yields eight perfectly shaped rolls ideal for serving warm with butter or accompanying your favorite soups and salads. The steam technique ensures an authentic crusty exterior.
The smell of these rolls baking reminds me of walking past neighborhood boulangeries in Paris early in the morning, when the whole street smells like yeast and possibility. I started making them at home after realizing nothing in the grocery store bakery quite captured that shatteringly crisp exterior. My kitchen now fills with the same buttery warmth, and these have become our Sunday morning ritual.
Last winter, my sister came over during a snowstorm and we made these rolls while drinking tea and catching up. The house was so cozy, and the bread disappeared almost as fast as it came out of the oven. Now she texts me every time she makes them, asking why hers never taste quite as good as the ones we made that afternoon.
Ingredients
- Bread flour: The higher protein content here is what gives these rolls their structure and that satisfying chewy texture
- Lukewarm water: This temperature wakes up the yeast without killing it, around 105°F is perfect
- Active dry yeast: Make sure your yeast is fresh and watch for that foamy bloom, it is proof that your dough will rise properly
- Salt: Do not be tempted to reduce this, it is crucial for flavor and also helps control the yeast growth
- Sugar: Just a tiny amount feeds the yeast and helps develop that beautiful golden color
- Extra flour for dusting: This gives the rolls that authentic bakery look and creates a nice texture contrast on top
Instructions
- Wake up the yeast:
- Dissolve the sugar in lukewarm water, stir in the yeast, and let it sit undisturbed until you see a layer of foam forming on top
- Build the dough:
- Mix the flour and salt into the yeast mixture, then turn it out onto a floured surface and knead until the dough feels smooth and springs back when you press it
- Let it rise:
- Place the dough in a bowl coated with a little oil, cover it with a damp cloth, and find a warm corner where it can double in size
- Shape the rolls:
- Gently deflate the dough, divide it into eight equal pieces, and form each into a tight ball by tucking the edges underneath
- Second rise:
- Arrange the shaped rolls on a parchment lined sheet, cover them loosely, and let them puff up again until they look slightly larger
- Create steam:
- Preheat your oven to 450°F and place a tray of water on the bottom rack, this steam is what makes that crust extra crispy
- Score and bake:
- Dust the tops with flour, make quick shallow slashes with a sharp knife, and bake until deep golden brown with a firm bottom
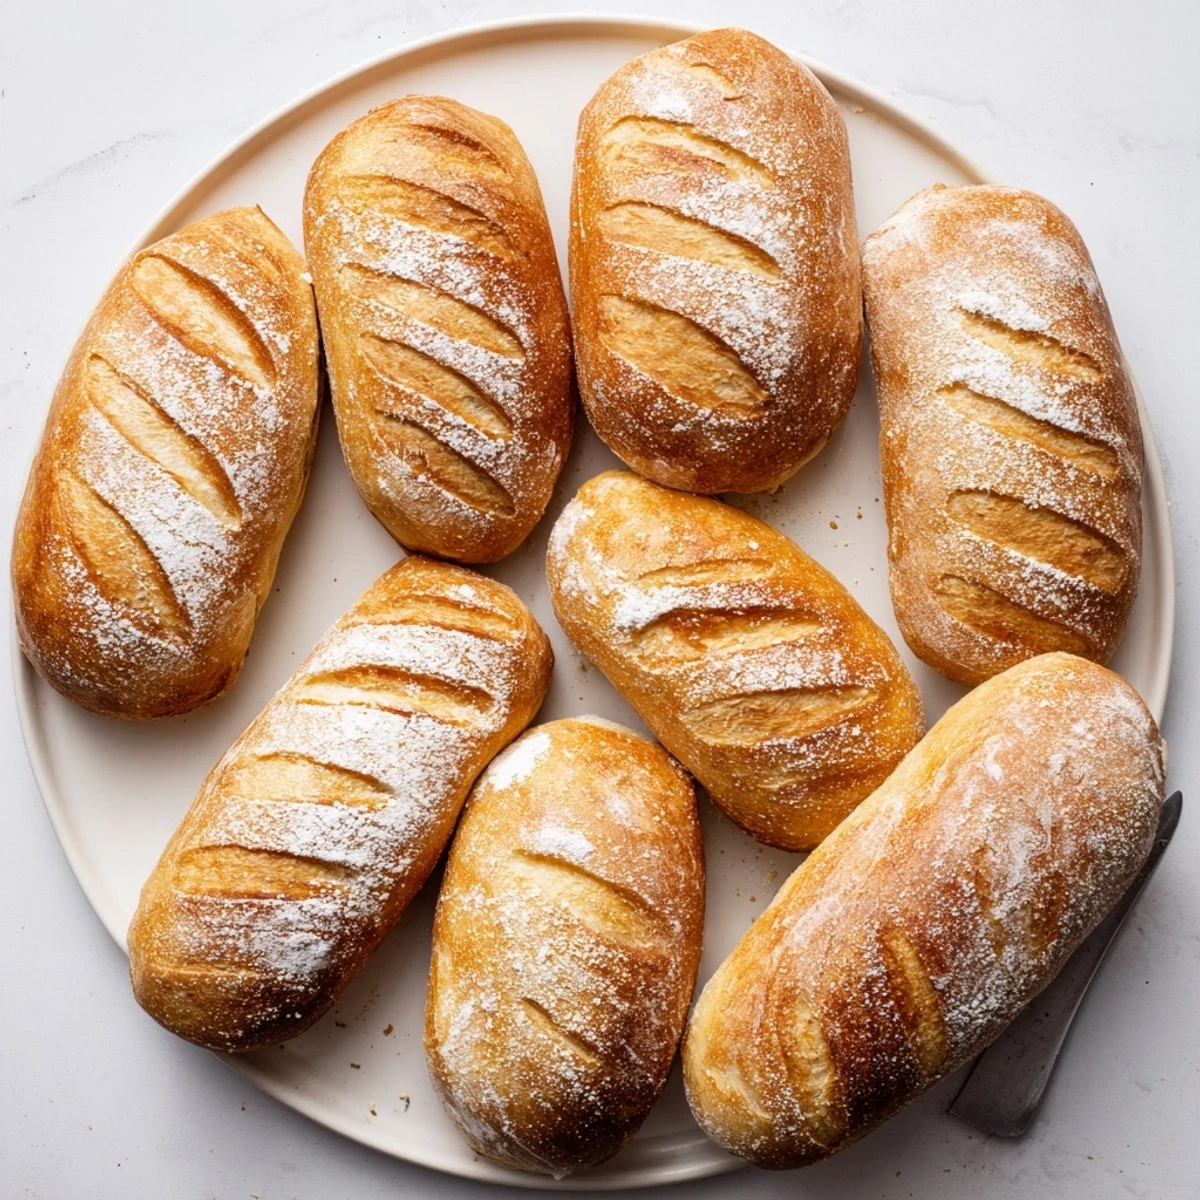 Save to Pinterest
 These rolls have become my go to whenever someone needs comfort food. There is something universally reassuring about breaking bread together, and watching people instinctively reach for a second roll makes all the waiting and kneading worth it.
The Secret To Perfect Scoring
I used to be afraid of slashing the dough, worried I would deflate all that beautiful rising work. Then I watched a baker do it with such confidence and realized the rolls actually need that release to expand properly in the oven. Hold your knife at a slight angle and make one swift motion, hesitation makes jagged lines.
Making Them Ahead
You can shape these rolls after the first rise and refrigerate them overnight on a baking sheet, covered tightly. Let them come to room temperature while the oven preheats the next day, then bake as directed. This actually develops more flavor, and waking up to freshly baked bread is a game changer for busy mornings.
Variations That Work
Sometimes I brush the tops with melted butter right after baking for a softer crust, or sprinkle everything bagel seasoning before they go into the oven. You can also replace some of the water with milk for a slightly more tender crumb. The water in the oven still works perfectly with these variations.
- Add roasted garlic cloves to the dough for a savory twist that pairs beautifully with soups
- Mix in chopped fresh herbs like rosemary or thyme during the final minute of kneading
- Brush with olive oil and sprinkle coarse salt immediately after baking for an artisan finish
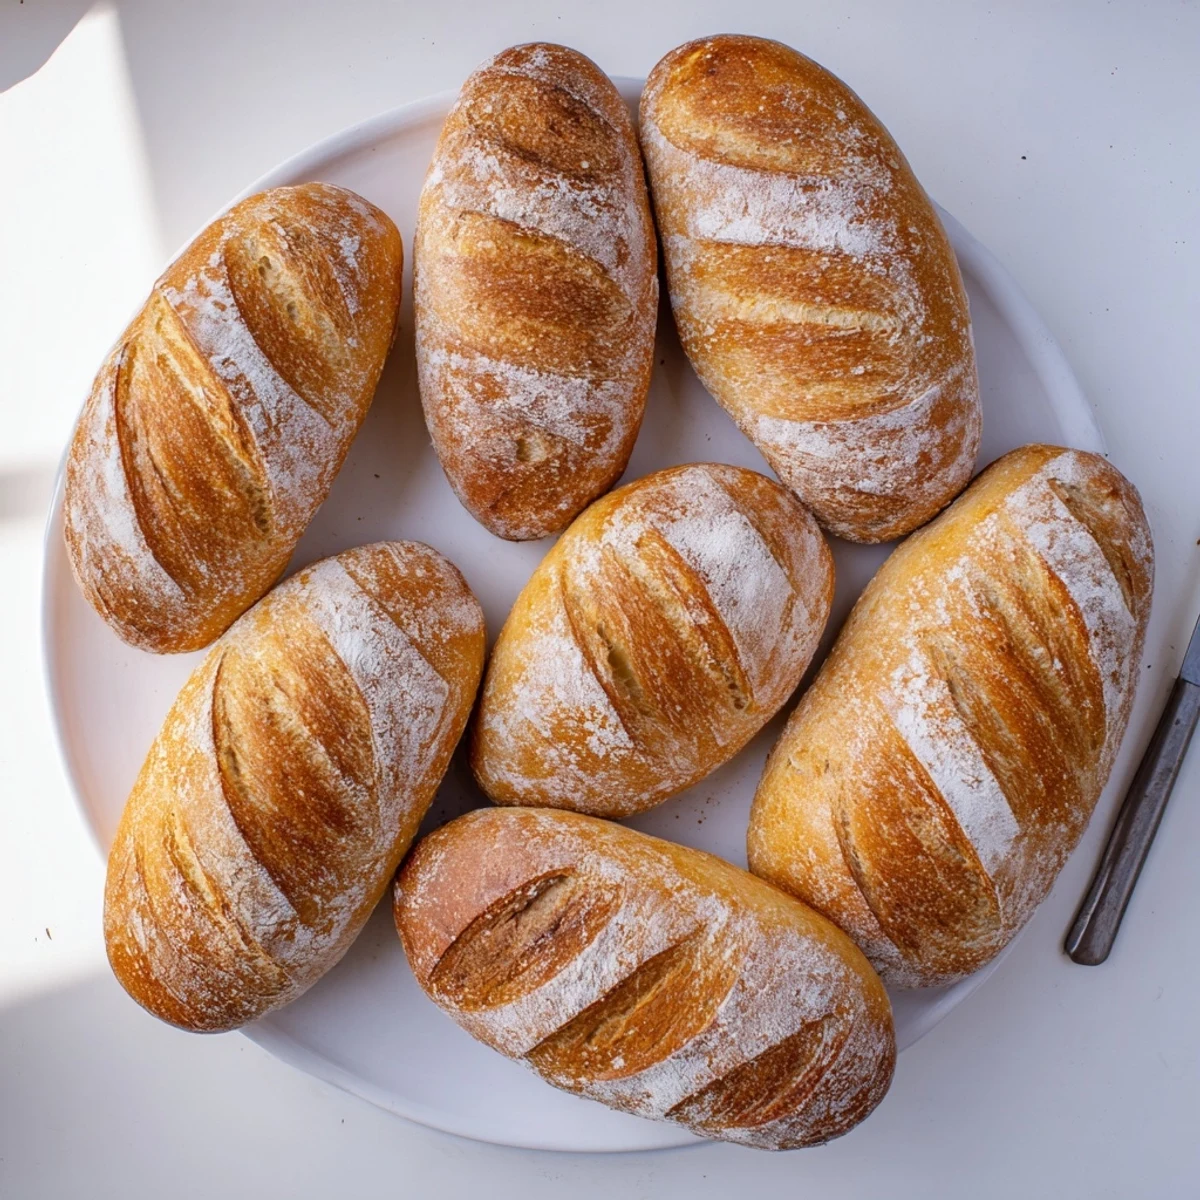 Save to Pinterest
 There is nothing quite like the satisfaction of pulling these rolls from your own oven, crust crackling and warm. Every batch teaches me something new, and I hope they become a staple in your kitchen too.
Recipe FAQs
- → What makes French bread rolls crusty?
-
Placing a tray of water in the oven creates steam, which develops a crispy, golden crust while keeping the interior tender and airy.
- → Can I make these rolls ahead of time?
-
Yes, prepare the dough and refrigerate after the first rise. Let it come to room temperature before shaping and baking for fresh results.
- → Why is my dough not rising?
-
Ensure your water is lukewarm, not hot, as high temperatures can kill the yeast. Also check that your yeast is fresh and not expired.
- → Can I freeze these rolls?
-
Absolutely. Bake completely, cool thoroughly, then freeze in an airtight bag for up to 3 months. Reheat in a 350°F oven for 10 minutes.
- → What can I use instead of bread flour?
-
All-purpose flour works, though the texture may be slightly softer. For best results, use bread flour which creates that classic chewy interior.
- → How do I know when the rolls are done?
-
The rolls should be deep golden brown with a hard crust when tapped. An instant thermometer inserted into the center should read 200°F.