 Save to Pinterest
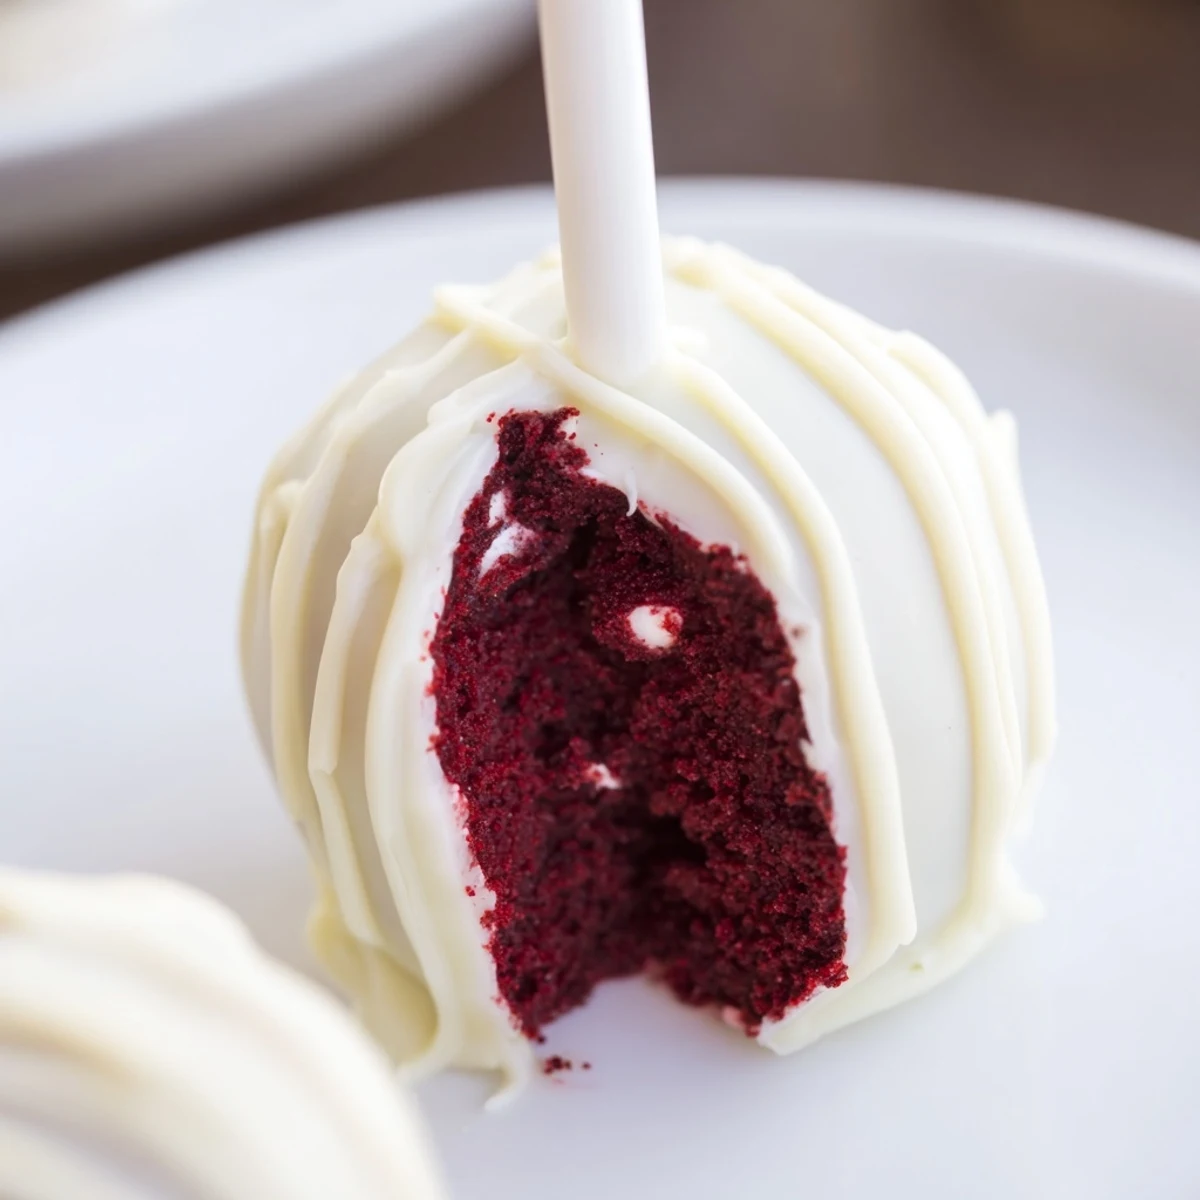
 Create elegant red velvet cake pops by crumbling cooled cake, mixing with cream cheese frosting, and rolling into balls. Chill thoroughly before dipping in melted white chocolate on lollipop sticks. These sophisticated treats feature a moist cake center balanced with tangy cream cheese frosting and smooth white chocolate exterior. Yields 24 pops with a medium difficulty level, taking approximately 1 hour 30 minutes total including chilling time.
The first time I made red velvet cake pops was for my cousin's bridal shower on a sweltering July afternoon. My kitchen windows were fogged with humidity as I nervously rolled those bright crimson balls, worried they'd fall apart on the sticks. The rich cocoa scent mingled with vanilla as I worked, and despite my worries, the white chocolate-coated treats ended up stealing the show at the dessert table.
I remember bringing these cake pops to my daughters dance recital last spring. The studio was packed with nervous dancers and anxious parents, but when I opened the container, these ruby-centered treats created a momentary calm. One of the dance moms caught my eye across the room and mouthed wow as her daughter devoured a second one, red velvet crumbs dotting her competition makeup.
Ingredients
- Unsweetened cocoa powder: The subtle chocolate undertone is what gives red velvet its distinctive flavor, not just the color - I learned this the hard way when I once tried to skip it thinking the cake was just about being red.
- Buttermilk: This tangy ingredient is non-negotiable if you want that authentic red velvet taste, and I found that bringing it to room temperature makes the batter blend much more smoothly.
- Red food coloring: Gel coloring gives you that dramatic ruby hue without adding too much liquid to the batter - a tip from my pastry chef friend that completely upgraded my results.
- White chocolate: Real white chocolate with cocoa butter (not just candy coating) melts into this gloriously silky coating that sets with the perfect snap when you bite into it.
Instructions
- Create the perfect canvas:
- Preheat your oven to 350°F and prepare your baking pan while you whisk together those dry ingredients until they look like dusty rose-tinted sand. The uniform mixing here prevents those dreaded cocoa powder pockets later.
- Build the batter:
- Cream your butter and sugar until it looks like fluffy clouds, then beat in those eggs one by one. Watch how the mixture transforms as you add the buttermilk, vanilla, and that dramatic pop of red food coloring - it should look like velvet ribbon swirling in your bowl.
- Bake with patience:
- Pour your vibrant batter into the prepared pan and slide it into the oven for about 30-35 minutes. Your kitchen will fill with the most incredible chocolate-vanilla fragrance as it bakes.
- Transform cake to crumbs:
- Once completely cooled, crumble that cake into a large bowl until no large chunks remain. Those little ruby crumbs will soon become the heart of your cake pops.
- Create the binding magic:
- Beat together cream cheese and butter until silky smooth, then add powdered sugar and vanilla for the frosting. This creamy mixture is what will hold your cake pops together - think of it as edible glue with benefits.
- Form perfect spheres:
- Mix just enough frosting into the cake crumbs until the mixture holds together when pressed between your fingers. Roll into uniform 1-inch balls that feel slightly firm but not dry or crumbly.
- Chill for success:
- Place your rolled cake balls in the freezer for 30 minutes - this is non-negotiable. Those chilled spheres will hold their shape when dipped and prevent the dreaded cake pop collapse.
- Prepare for dipping:
- Melt your white chocolate until it flows like silk, adding a bit of coconut oil if needed for smoothness. Dip the tip of each stick in melted chocolate before inserting into the cake balls - this creates an anchor that prevents sliding.
- Dip with confidence:
- Holding by the stick, dip each cake ball fully into the white chocolate with one smooth motion. A gentle tap-tap on the edge of your bowl helps excess chocolate drip away cleanly.
- Finish with flair:
- Before the coating sets, add a delicate drizzle of contrasting white chocolate or a sprinkle of decorations. Set your creations upright to dry completely, transforming into those eye-catching treats that disappear first at any gathering.
 Save to Pinterest
 Last Christmas, my neighbor was going through a difficult divorce, and I noticed she hadnt decorated for the holidays. I packaged six of these cake pops in a clear gift box tied with a red ribbon and left them on her doorstep. That evening, she texted me a photo of one half-eaten with the message: This small kindness made me feel human again today. Sometimes the simplest treats carry the most meaning.
Troubleshooting Tips
After making hundreds of these treats, Ive encountered every possible disaster. If your cake pops crack after dipping, your chocolate was likely too hot - let it cool slightly before continuing. When your white chocolate seizes and turns grainy, a teaspoon of coconut oil gently stirred in can sometimes rescue it, something I discovered in a panic before a birthday party.
Storage & Make-Ahead
The beauty of cake pops is how well they keep - Ive made them three days before a party with perfect results. Store them in the refrigerator in a container lined with parchment paper, not touching each other, and bring to room temperature about 20 minutes before serving so the cake center can soften to that perfect fudgy texture.
Variations & Customizations
Ive experimented with endless variations over the years, from swapping in dark chocolate coating for a more sophisticated flavor to adding peppermint extract during the holidays. My daughters birthday version included crushed freeze-dried strawberries mixed into the white chocolate for a natural pink coating that complemented the red interior beautifully.
- For an extra-festive look, try drizzling with both white and dark chocolate in a crisscross pattern.
- Add a drop of almond extract to the cake mixture for a subtle flavor upgrade that guests cant quite identify but always love.
- For a make-ahead option, you can freeze the uncoated cake balls for up to a month and just dip them the day before your event.
 Save to Pinterest
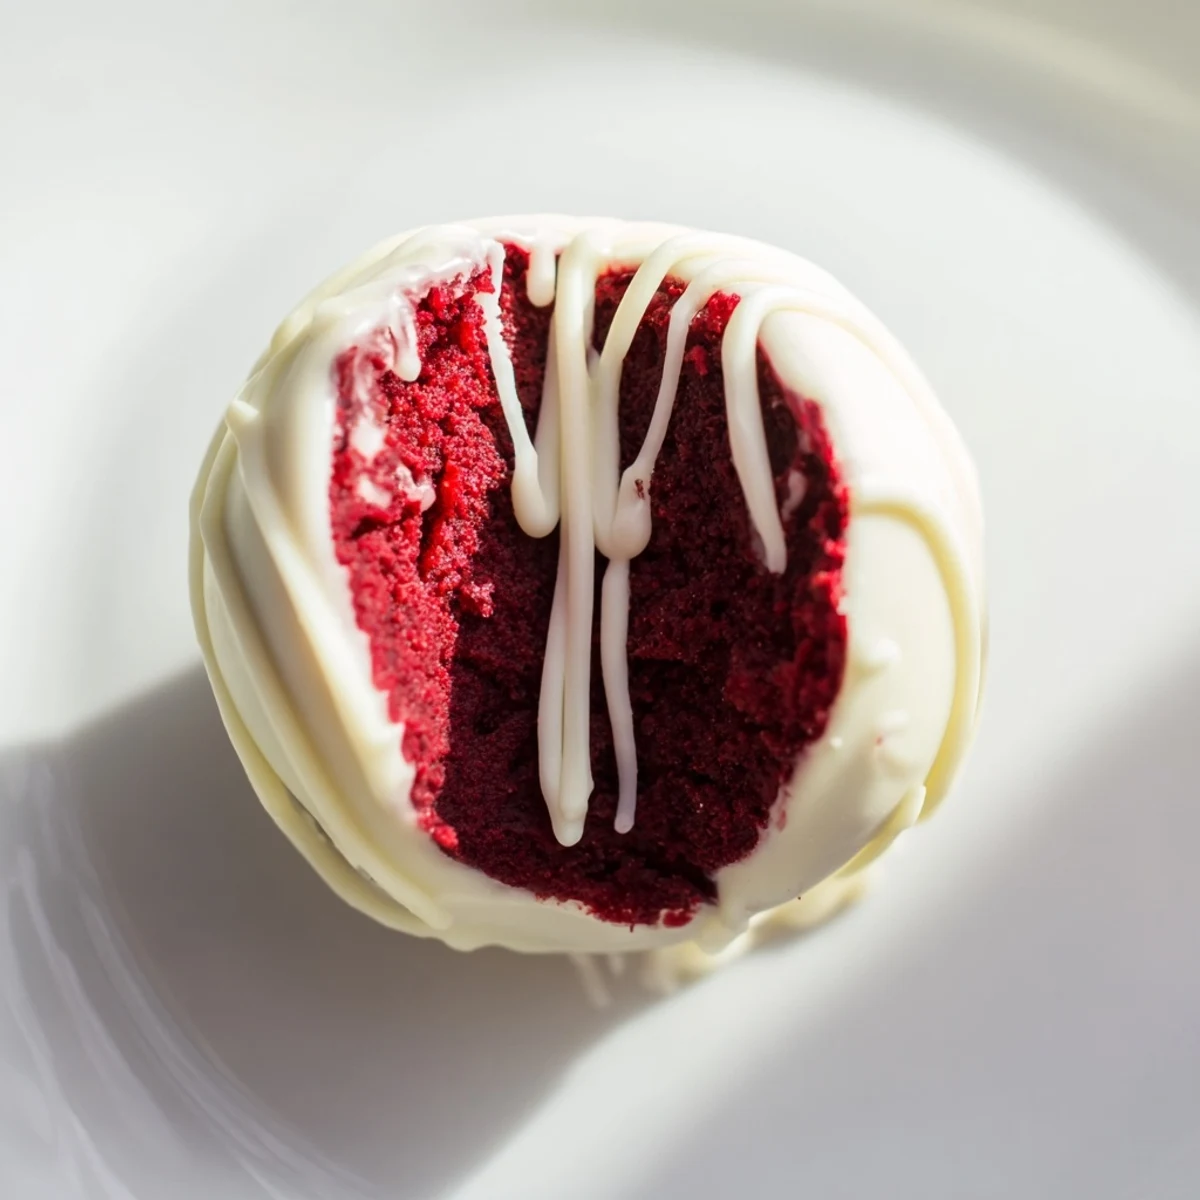
 These red velvet cake pops have become more than just a recipe in my collection - theyve become part of our family story, appearing at celebrations, comforting friends through hard times, and marking special moments. Each little sphere holds not just cake and frosting but a tiny piece of joy to be shared.
Recipe FAQs
- → How do I prevent cake pops from cracking during dipping?
-
Ensure cake balls are thoroughly chilled for at least 30 minutes before dipping. This firms the structure and prevents cracking. Additionally, allow the chocolate coating to set between dips by maintaining proper temperature.
- → Can I use liquid food coloring instead of gel coloring?
-
Liquid food coloring works but may affect the batter's consistency. Gel coloring is recommended for more vibrant color and better texture control. If using liquid, reduce buttermilk slightly to compensate for extra moisture.
- → How long can I store these cake pops?
-
Store finished cake pops in an airtight container in the refrigerator for up to 5 days. For longer storage, freeze uncoated cake balls for up to 2 weeks, then coat with chocolate before serving.
- → Why is adding vinegar important in this preparation?
-
Vinegar reacts with baking soda to activate leavening and enhance the red velvet flavor profile. It also helps achieve the characteristic tender crumb and slight tang that balances the sweetness.
- → What's the best way to thin white chocolate for dipping?
-
Add coconut oil or vegetable shortening in small increments while melting. These keep chocolate at proper consistency without affecting flavor. Avoid water, which causes chocolate to seize and become grainy.
- → Can I make these without a Styrofoam block for setting?
-
Yes, use alternative holders like a small vase filled with sand, a cake pop stand, or even a glass held upright. Ensure the holder supports pops securely while chocolate sets completely.