 Save to Pinterest
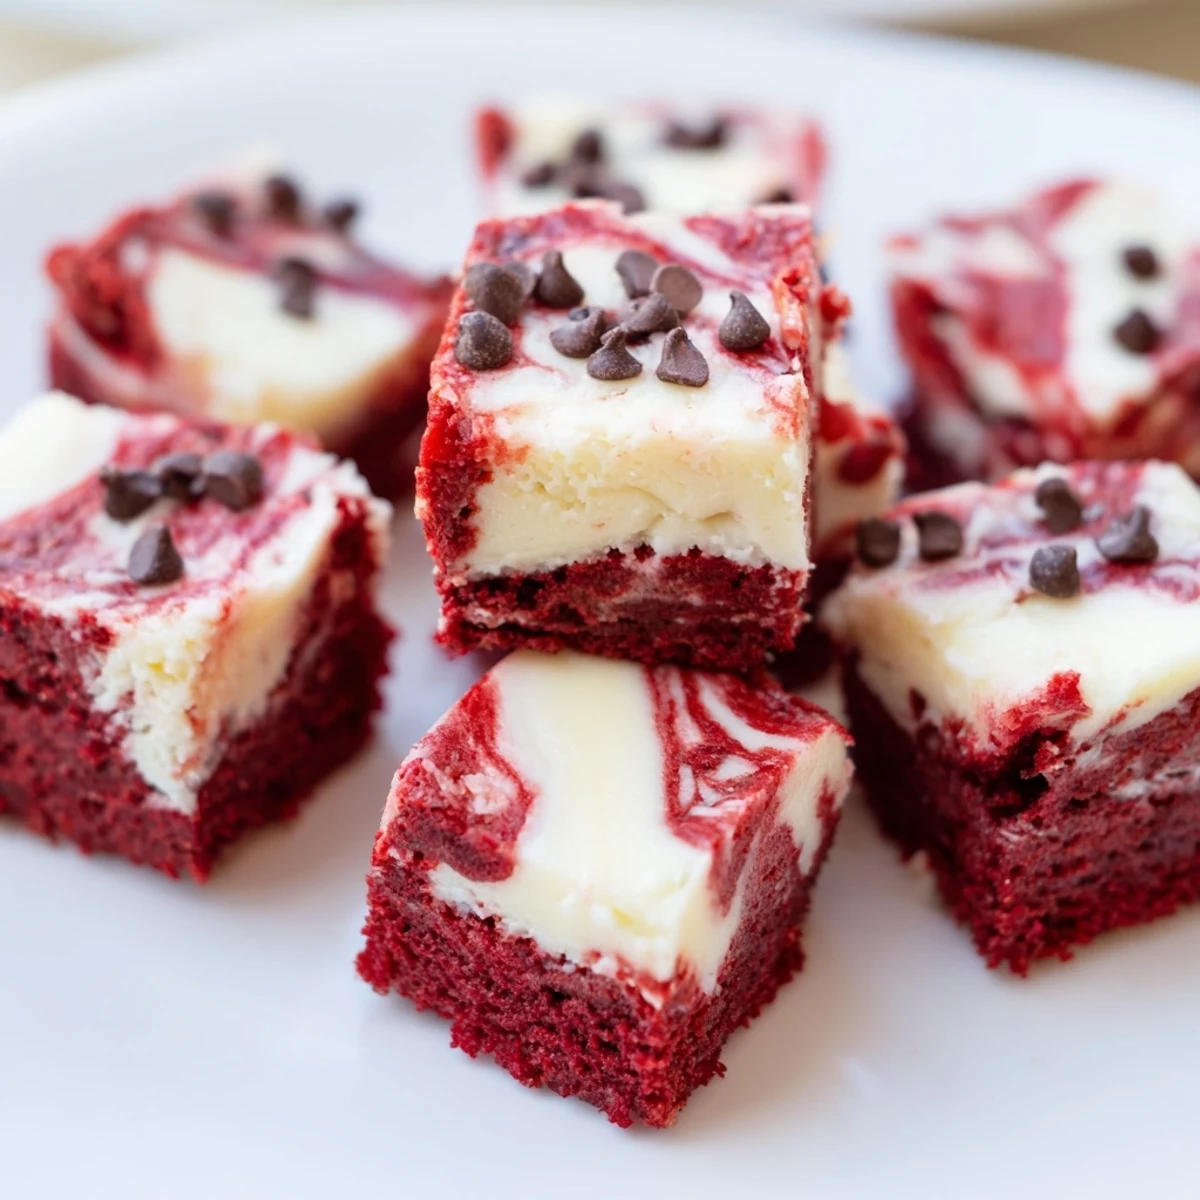
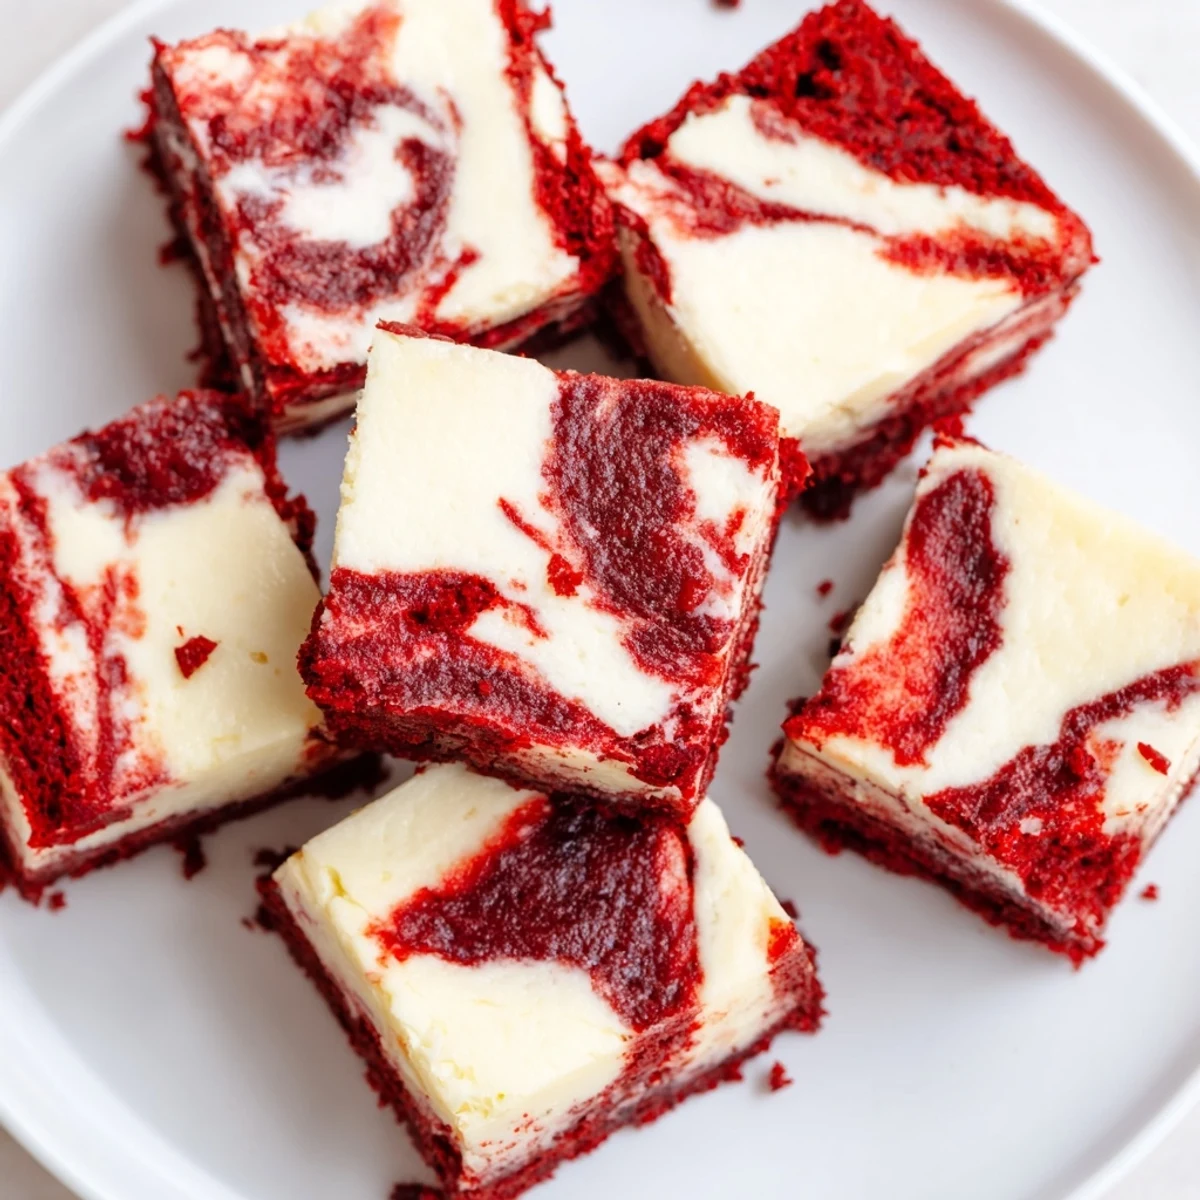
 These bite-sized delights combine the deep flavors of red velvet and the creamy texture of cheesecake. With a tender brownie base colored vibrant red, each piece is topped with a luscious cheesecake swirl, creating a beautiful marbled effect. Baking in mini muffin tins produces perfectly portioned treats that are easy to share and perfect for parties or special moments. The balance of cocoa, cream cheese, and subtle vanilla enhances every bite, promising a rich yet delicate experience.
Preparation and cooking are straightforward, making these ideal for bakers of all skill levels seeking a sweet indulgence with a festive touch. Optional toppings like mini chocolate chips or sanding sugar add extra charm. Store chilled and enjoy within several days or freeze for longer freshness.
The way these little treats caught me off guard still makes me smile. I was hosting a last minute game night and needed something impressive but doable. The contrast between that fudgy red velvet base and the tangy cream cheese swirl had everyone reaching for seconds before I even set the platter down.
My friend Sarah actually teared up when she tried these at that game night. She said they reminded her of the wedding cake she and her husband had chosen years ago. Now I make a batch every time they come over for dinner.
Ingredients
- Unsalted butter: Melted completely helps create that dense fudgy texture we want in the brownie base
- Granulated sugar: Provides sweetness and structure for the brownie to rise properly
- Large eggs: Room temperature eggs incorporate better and prevent curdling when mixed
- Vanilla extract: Pure vanilla extract enhances both the chocolate and cream cheese flavors
- Red food coloring: Gel coloring works best for that vibrant red without thinning the batter
- All purpose flour: Spoon and level the flour to avoid packing which makes brownies cakey
- Unsweetened cocoa powder: Dutch process cocoa gives a deeper richer chocolate flavor
- Salt: Just enough to balance the sweetness and intensify the chocolate notes
- Cream cheese: Completely softened is non negotiable for a smooth lump free swirl
- Granulated sugar: Sweetens the cheesecake layer and helps stabilize the egg yolk
- Egg yolk: Adds richness and helps the cheesecake layer set without becoming rubbery
- Vanilla extract: A second dose in the swirl bridges the two layers beautifully
Instructions
- Preheat and prep your pan:
- Heat your oven to 350°F and line a 24 cup mini muffin tin with paper liners for easy removal
- Mix the brownie base:
- Whisk melted butter and sugar until blended then add eggs vanilla and red food coloring until smooth
- Combine dry ingredients:
- Sift flour cocoa powder and salt into the wet mixture stirring just until no dry streaks remain
- Fill the muffin cups:
- Divide batter evenly among cups filling each about two thirds full to leave room for the swirl
- Prepare the cheesecake swirl:
- Beat cream cheese until smooth then add sugar egg yolk and vanilla mixing until completely creamy
- Add the swirl:
- Drop a small spoonful of cheesecake mixture onto each brownie cup then swirl gently with a toothpick for marbling
- Bake to perfection:
- Bake for 22 to 25 minutes until centers are set and a toothpick comes out with just a few moist crumbs
- Cool completely:
- Let them rest in the pan for 10 minutes before transferring to a wire rack to cool completely
 Save to Pinterest
 These have become my go to contribution for every potluck and holiday gathering now. There is something magical about watching people hesitate then light up when that cream cheese hits their tongue.
Getting The Perfect Swirl
The marbling effect is easier than it looks but a light touch is key. Drop the cheesecake mixture in small dollops rather than spreading it. One gentle swirl with a toothpick is enough and over swirling blends the layers too much.
Make Ahead Strategy
You can bake these up to two days ahead and store them in the refrigerator. The flavors actually develop and meld together overnight making them even better. Bring to room temperature for 30 minutes before serving for the best texture.
Serving Suggestions
These bites feel special enough for a dessert buffet but casual enough for a coffee break. They are stunning on a white platter with a light dusting of powdered sugar right before serving.
- Try topping with mini chocolate chips before baking for extra texture
- A pinch of flaky sea salt on top highlights the chocolate flavors beautifully
- Serve with fresh raspberries for a classic red velvet pairing
 Save to Pinterest
 Watch these disappear faster than any full sized dessert at your next gathering. Happy baking friends.
Recipe FAQs
- → What ingredients create the red velvet brownie base?
-
The base combines melted butter, granulated sugar, eggs, vanilla extract, red food coloring, all-purpose flour, cocoa powder, and a pinch of salt.
- → How is the cheesecake swirl prepared?
-
It is made by mixing softened cream cheese with sugar, an egg yolk, and vanilla extract until smooth and creamy.
- → What is the best way to achieve the marbled cheesecake effect?
-
After layering the cheesecake mixture atop the brownie batter, use a toothpick or skewer to gently swirl it, creating a marbled pattern.
- → How long should the bites be baked?
-
Bake them at 350°F (175°C) for 22 to 25 minutes, until centers are set but slightly moist.
- → Can these bites be stored or frozen?
-
Yes, store in an airtight container in the refrigerator for up to 5 days or freeze for up to 2 months to maintain freshness.
- → Are these bites suitable for special dietary needs?
-
They contain dairy, eggs, gluten, and food coloring; check ingredient labels if sensitivities apply.