 Save to Pinterest
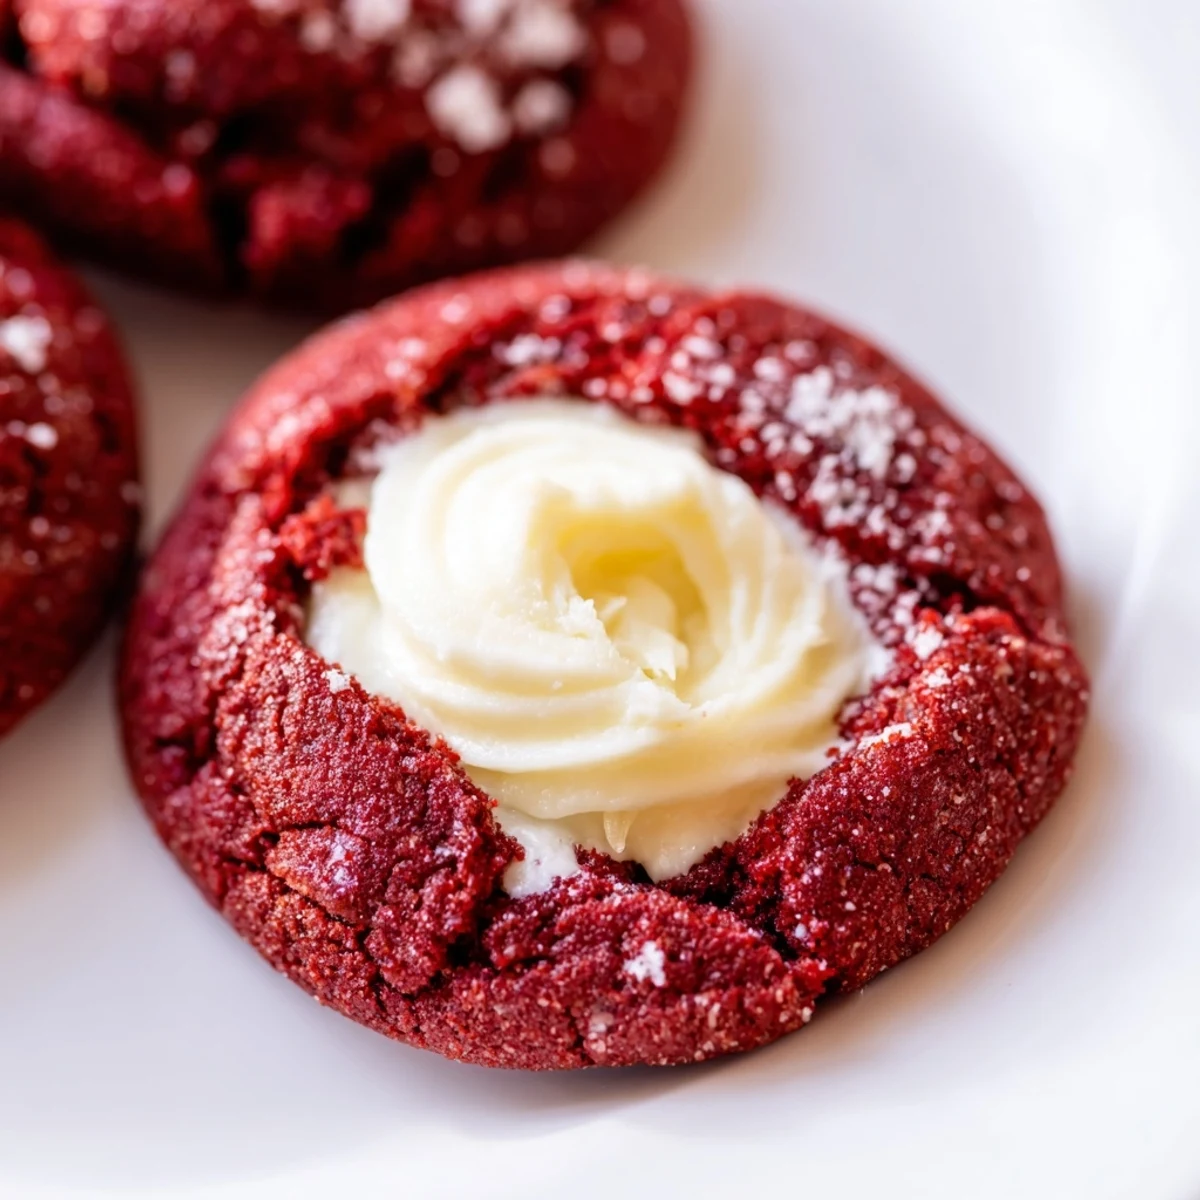
 These vibrant red velvet thumbprints feature a rich cocoa dough that bakes into tender, melt-in-your-mouth cookies. The signature thumbprint indentation gets filled with a luscious cream cheese center that complements the chocolate notes perfectly.
The dough comes together quickly with basic pantry staples, requiring just 20 minutes of prep before a short 12-minute bake. The cream cheese filling whisks up in seconds and can be swapped for white chocolate ganache if desired.
Decorate with festive sprinkles or crushed candy canes during holiday seasons, or keep them simple for year-round enjoyment. Store chilled for up to four days—though they rarely last that long.
My niece spotted these on the counter last Christmas and whispered they looked like little ruby treasures. That comment stuck with me, and now red velvet thumbprints are my go-to when I want something that feels fancy but comes together in under an hour.
Last winter, I doubled the batch for a cookie exchange and watched them disappear in minutes. Someone actually asked if I bought them from a boutique bakery, which made me laugh because they are deceptively simple.
Ingredients
- All-purpose flour: The structure here, so measure carefully and avoid packing it down
- Unsweetened cocoa powder: Use Dutch processed for a deeper, smoother chocolate flavor
- Baking soda: Just a quarter teaspoon gives these the right amount of lift without spreading too much
- Salt: Essential for balancing the sweet cream cheese filling
- Unsalted butter: Soften it properly, room temperature means you can press it with your finger but it should not be melting
- Granulated sugar: Cream this thoroughly with the butter for the tenderest crumb
- Egg yolk: Using just the yolk keeps these cookies rich and tender
- Whole milk: Helps bring the dough together without making it tough
- Vanilla extract: Do not skip this, it bridges the chocolate and cream cheese flavors
- Red food coloring: Gel coloring works best for that deep velvet shade without altering the dough consistency
- Cream cheese: Full fat and softened properly ensures a smooth, pipeable filling
- Powdered sugar: Sift it first to avoid lumps in your filling
Instructions
- Get your oven ready:
- Preheat to 350°F and line two baking sheets with parchment paper
- Whisk the dry team:
- Combine flour, cocoa powder, baking soda, and salt in a medium bowl until well blended
- Cream butter and sugar:
- Beat together for about 2 minutes until noticeably lighter and fluffy
- Add the wet ingredients:
- Mix in the egg yolk, milk, vanilla, and red food coloring until combined
- Bring it together:
- Gradually mix in the dry ingredients until just combined, do not overmix
- Make the filling:
- Whisk cream cheese, powdered sugar, and vanilla in a small bowl until smooth and set aside
- Shape the cookies:
- Roll dough into 1 inch balls and place on baking sheets 2 inches apart
- Create the wells:
- Gently press your thumb or a teaspoon into the center of each ball
- Fill them up:
- Add about half a teaspoon of cream cheese filling to each indentation
- Bake to perfection:
- Bake 11 to 13 minutes until edges are set but centers still look slightly soft
- Cool completely:
- Let them rest on the baking sheet for 5 minutes before moving to a wire rack
 Save to Pinterest
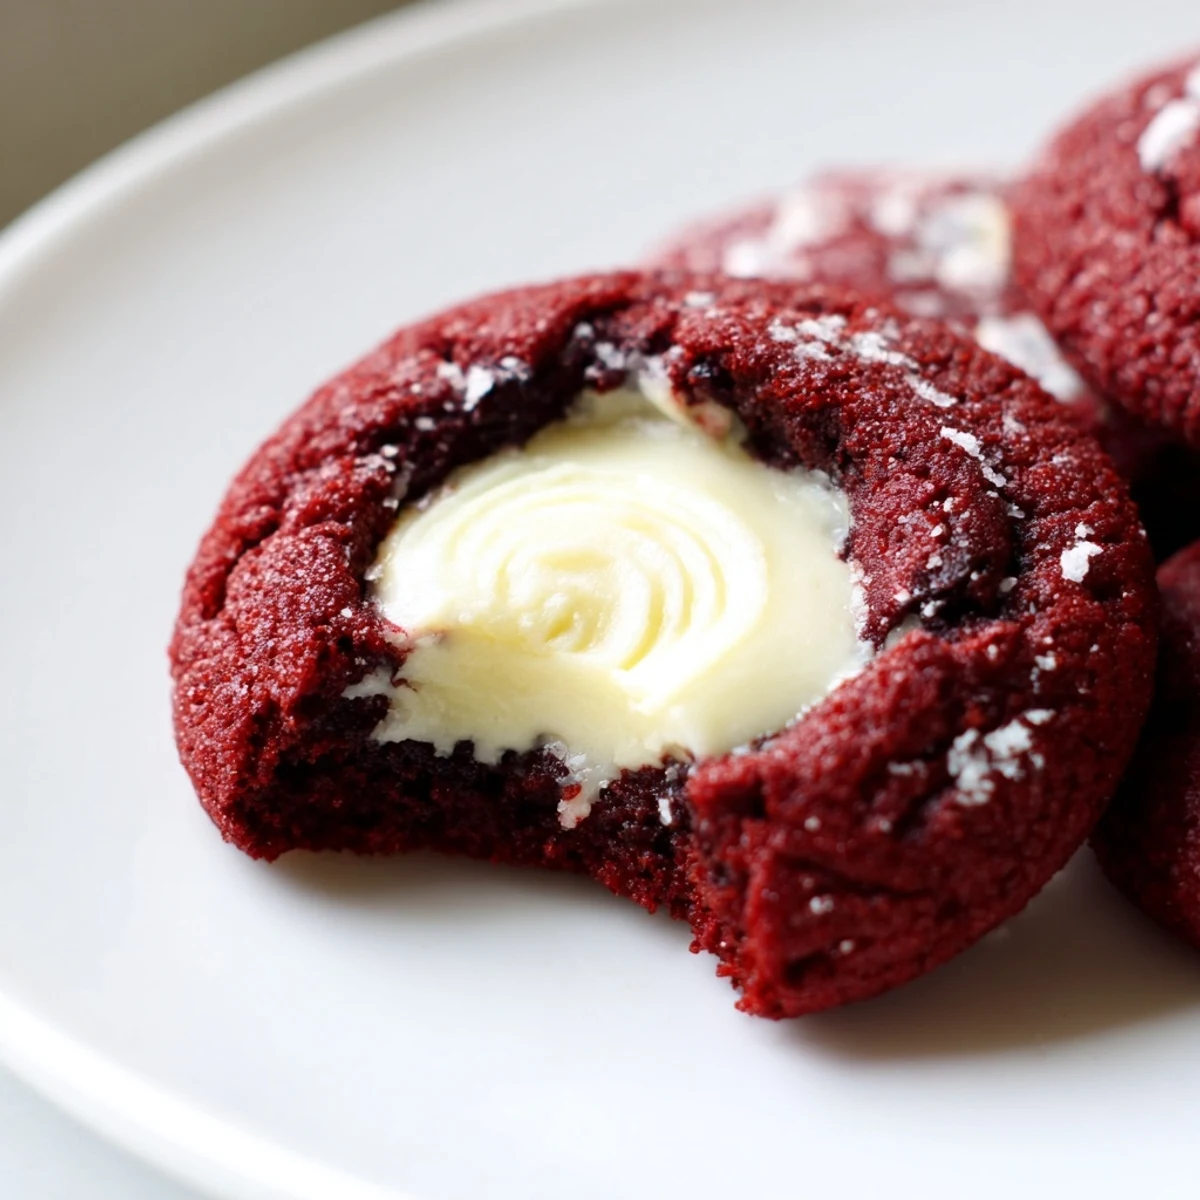
 My husband claimed he was just taste testing but kept finding excuses to walk past the cooling rack. By the time they were completely cool, half the batch was gone.
Making The Perfect Thumbprint
The trickiest part is getting that indentation right without cracking the dough. I have learned to roll the balls, let them sit for about 30 seconds, then press gently with my thumb while rocking it slightly. If a few crack anyway, just smooth them over with a damp finger and no one will notice.
Filling Variations
Sometimes I swap the cream cheese for white chocolate ganache, which feels extra indulgent. You can also add a drop of almond extract to the filling instead of vanilla for a completely different flavor profile. During December, a pinch of peppermint extract in the filling makes these taste like holidays.
Storage And Serving
These actually taste better after chilling in the refrigerator for a few hours. Store them in an airtight container and they will keep for up to 4 days, though they rarely last that long in my house.
- Let them come to room temperature for about 15 minutes before serving for the best texture
- If you are transporting these, place wax paper between layers to prevent sticking
- The red color intensifies slightly after baking, so do not worry if the dough looks lighter than expected
 Save to Pinterest
 These cookies have become my secret weapon for holiday gatherings, Valentine parties, and even Tuesdays that need a little brightening up.
Recipe FAQs
- → What makes these red velvet cookies different from regular thumbprints?
-
The addition of cocoa powder and red food coloring creates the signature red velvet flavor and vibrant crimson hue. The tender crumb comes from creaming butter and sugar thoroughly, while the cream cheese filling adds a tangy contrast to the rich chocolate notes.
- → Can I make the dough ahead of time?
-
Yes, the dough can be prepared and refrigerated for up to 24 hours before baking. Let it soften slightly at room temperature for 10-15 minutes before rolling into balls, as cold dough may crack when pressing the thumbprint indentations.
- → What other fillings work well?
-
Beyond cream cheese, try white chocolate ganache, dark chocolate fudge, lemon curd, or raspberry jam. For holidays, peppermint buttercream or crushed candy cane pieces add festive flair. The cocoa base pairs beautifully with both creamy and fruit fillings.
- → Why did my cookies spread too much?
-
Overly warm dough or insufficient chilling can cause excessive spreading. Ensure your butter is softened to room temperature—not melted. If your kitchen is particularly warm, chill the formed dough balls for 15 minutes before baking to help them hold their shape.
- → How do I know when they're done baking?
-
The edges should appear set and slightly firm, while the centers may still look slightly soft. The cookies will continue cooking on the hot baking sheet during the 5-minute cooling period. Avoid overbaking, as this dries out the tender crumb.
- → Can I freeze these cookies?
-
Freeze unbaked dough balls on a parchment-lined sheet until firm, then transfer to a freezer bag for up to 3 months. Bake from frozen, adding 1-2 minutes to the baking time. Alternatively, freeze fully cooled baked cookies in an airtight container for up to 2 months.