Save to Pinterest
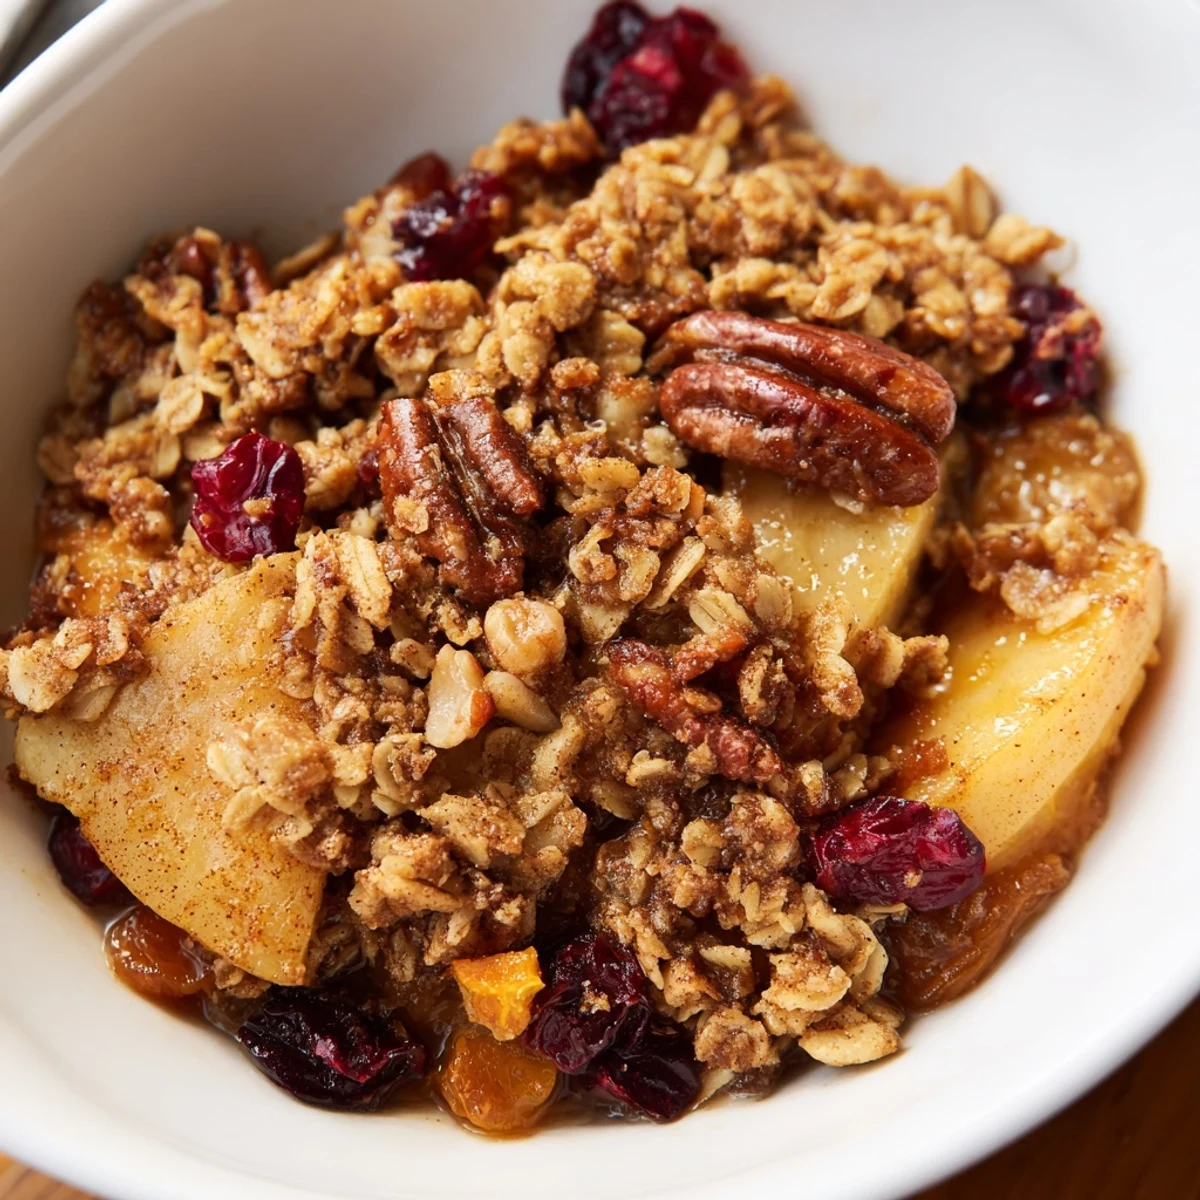
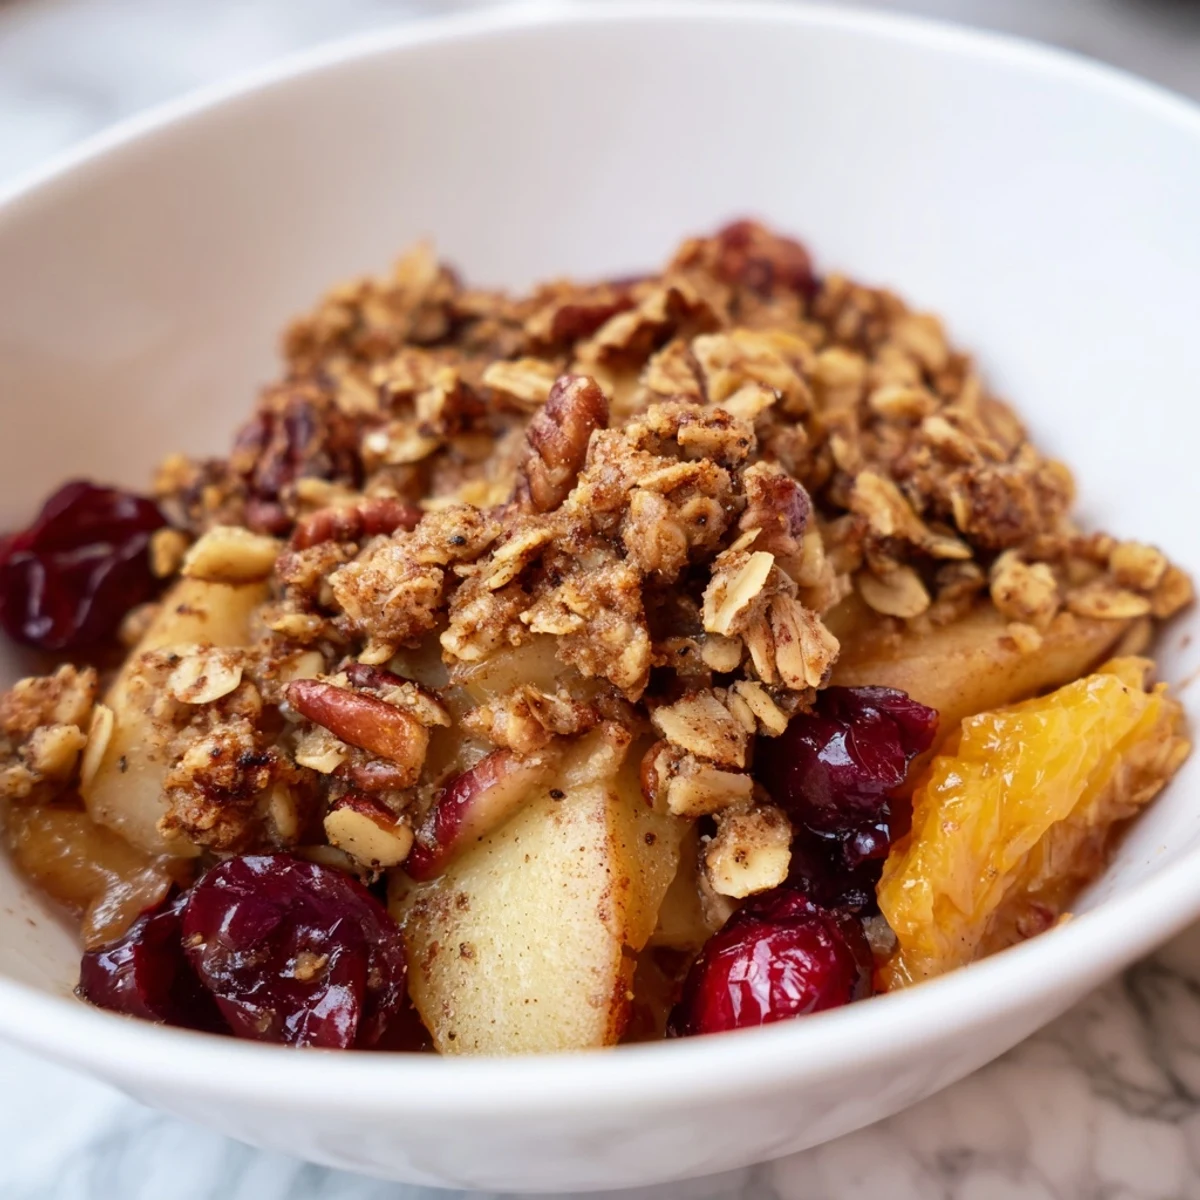
 This Winter Fruit Crisp combines fresh and dried seasonal fruits—apples, pears, cranberries, and apricots—layered in a baking dish and topped with a buttery oat and nut crumble. The fruit filling is spiced with cinnamon and nutmeg, while the topping features rolled oats, walnuts, and brown sugar mixed into a coarse, crumbly texture. Baked at 350°F for 40 minutes until golden and bubbling, it's best served warm with vanilla ice cream or whipped cream. This vegetarian dessert takes just one hour from start to table and easily feeds six.
On a particular blustery December evening, the scent of cinnamon and apples filled my kitchen like a warm embrace. I'd gathered winter fruits from the farmers market that morning, not entirely sure what I'd do with them until my hands were cold and my kitchen beckoned for something comforting. The ritual of slicing pears and apples while snow collected on the windowsill became the perfect antidote to winter's chill.
I first made this crisp for my neighbor Sarah after she helped shovel my walkway during a particularly heavy snowfall. The look on her face when she took her first bite, steam still rising from the crisp, told me everything I needed to know. She closed her eyes briefly, smiled, and then immediately asked for the recipe while scraping her spoon against the dish to capture every last morsel.
Ingredients
- Seasonal Fruits: The combination of apples and pears creates a foundation, while cranberries add bright pops of tartness that balance the sweetness perfectly.
- Dried Apricots: These little gems concentrate their sweetness when baked, creating pockets of intense flavor that surprised me the first time I added them on a whim.
- Cold Butter: Keep it truly cold right until you work it into the topping, as those solid pieces create the most glorious crispy texture when they melt in the oven.
- Nuts: I started with walnuts but discovered pecans add a buttery quality that elevates the entire dessert.
Instructions
- Prepare Your Fruit:
- Slice your apples and pears not too thin, not too thick, about 1/4 inch works beautifully so they maintain some texture after baking. When you toss them with the spices and lemon juice, take a moment to inhale that heavenly scent, its the promise of what's to come.
- Make The Crumbly Topping:
- Using your fingertips to work the butter into the dry ingredients feels therapeutic, almost like playing with sand. Stop when you have a mixture that holds together when squeezed but still looks fairly rough and uneven.
- Assemble With Abandon:
- Pour your fruit into the baking dish, allowing it to mound slightly in the center since it will shrink during baking. Sprinkle the topping generously, making sure to create some bigger clumps by squeezing portions in your hand.
- Bake Until Golden:
- The transformation in the oven is truly magical, with the fruit breaking down into a jammy consistency while the top bronzes beautifully. You'll know it's done when you see bubbling around the edges and that irresistible golden hue on top.
- Let It Rest:
- Those ten minutes of cooling might test your patience, but they're essential for the filling to set slightly. I've burned my tongue more times than I care to admit by diving in too soon.
 Save to Pinterest
 Last winter, during a power outage, I served this crisp by candlelight to friends who had come to check on me. We huddled around the kitchen island with spoons in hand, the dessert still warm from the gas oven that thankfully still worked. In that moment, with faces illuminated by flickering candles and conversation flowing easily, this simple fruit dessert transformed an inconvenience into one of my favorite winter memories.
Seasonal Adaptations
Throughout the year, I've reimagined this crisp with whatever fruits are at their peak. Summer brings a version with peaches and blackberries that's equally delightful, while autumn calls for adding slices of quince that perfume the entire dessert with their unique floral notes. The foundation remains the same, but each season writes its own delicious chapter.
Serving Suggestions
While vanilla ice cream is the classic pairing, I've discovered that a spoonful of Greek yogurt lightly sweetened with honey creates a delightful temperature and flavor contrast. The slight tanginess cuts through the dessert's richness, especially at breakfast, because yes, I've absolutely justified this as breakfast on more than one occasion.
Make-Ahead Options
On busy days, I prepare the topping up to three days ahead and store it in the refrigerator, which somehow improves the texture when baked. The fruit filling can be prepped a day ahead, though the apples may brown slightly, which doesn't affect flavor at all.
- For entertaining, assemble the entire crisp in the morning, refrigerate covered, and pop it into the oven as dinner is served.
- Leftover crisp keeps beautifully for breakfast, with the topping softening slightly but maintaining its charm.
- If making for a crowd, the recipe doubles perfectly in a 9x13 baking dish, just add about 10 minutes to the bake time.
 Save to Pinterest
 This winter fruit crisp isn't just a dessert, it's a warm invitation to slow down and savor the moment. Whether shared with others or enjoyed in peaceful solitude, it reminds us that the simplest ingredients, when treated with care, create the most meaningful experiences.
Recipe FAQs
- → Can I prepare this dessert ahead of time?
-
Yes, you can assemble the crisp up to 8 hours in advance. Prepare the fruit filling and topping in separate containers, then combine just before baking. Alternatively, bake it completely and reheat gently in a 300°F oven for 10-15 minutes before serving.
- → What fruits work best as substitutes?
-
Quince and persimmons make excellent alternatives for a unique flavor profile. You can also use berries, stone fruits, or a combination of your favorite seasonal produce. Maintain a similar total fruit quantity for consistent baking results.
- → How do I make this gluten-free?
-
Replace all-purpose flour with certified gluten-free flour blend in both the filling and topping. Use certified gluten-free rolled oats as well. The texture and baking time remain unchanged, making this adjustment seamless.
- → Can I use different nuts or seeds?
-
Absolutely. Pecans, almonds, or any preferred nut work beautifully. For nut allergies, substitute with seeds like sunflower or pumpkin seeds in equal amounts. The topping will have a slightly different texture but remain delicious.
- → What's the best way to store leftovers?
-
Store covered at room temperature for up to two days, or refrigerate for up to four days. Reheat individual portions in the microwave for 1-2 minutes or in a 300°F oven for 10 minutes. It can also be frozen for up to three months.
- → Why is the topping not getting crispy?
-
Ensure the butter is cold and cut into small cubes before mixing with dry ingredients—warm butter won't create the desired crumbly texture. Don't overwork the mixture, and bake until the edges are visibly golden brown. If needed, increase oven temperature by 25°F.