 Save to Pinterest
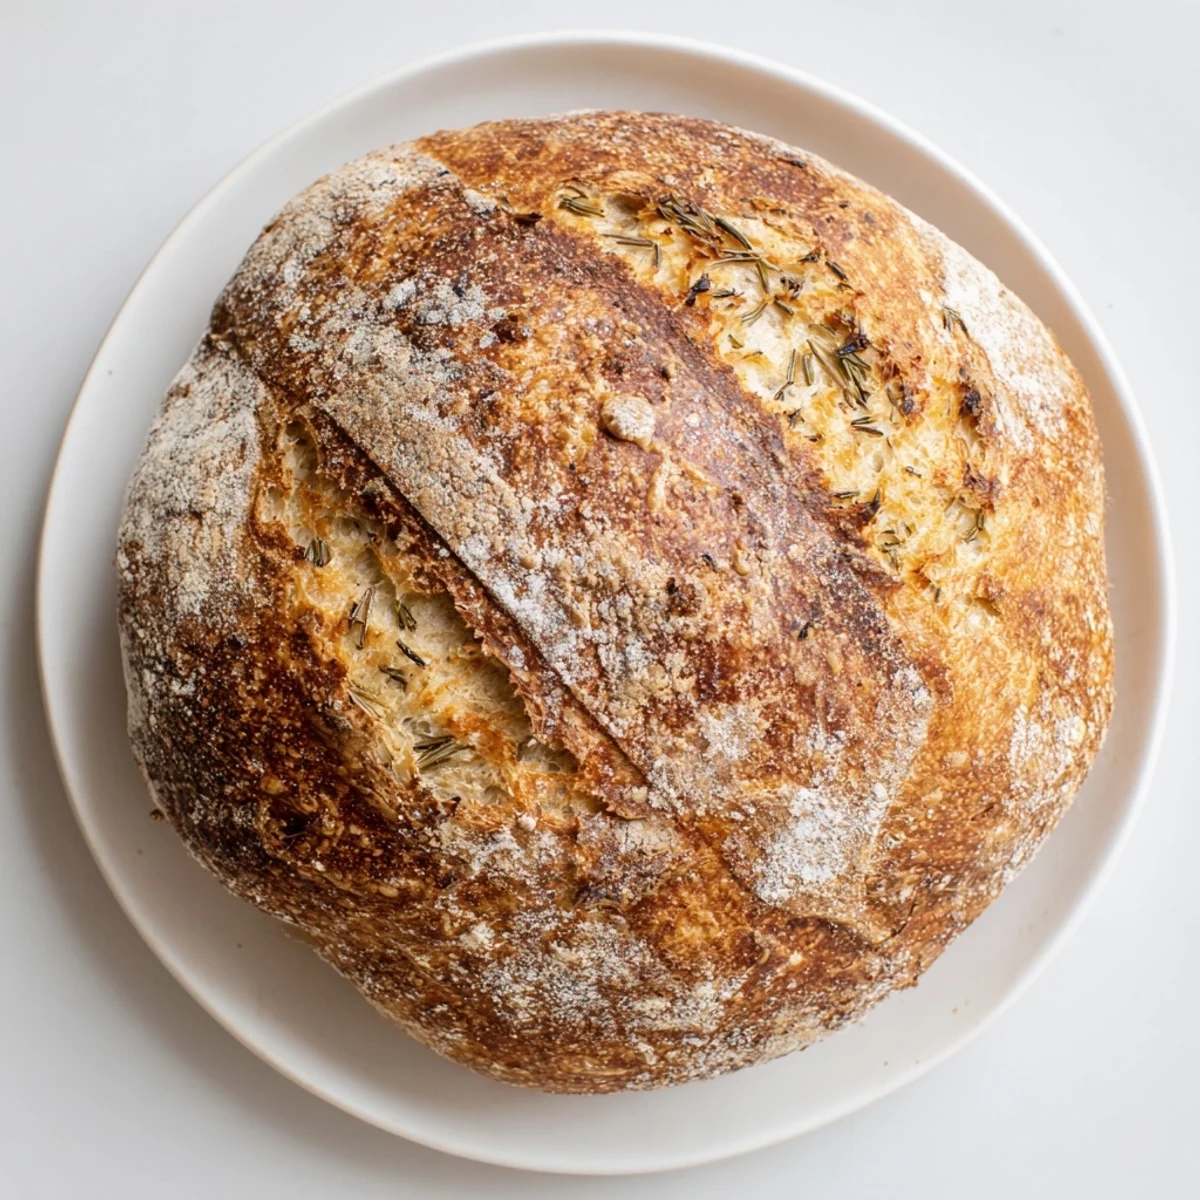
 Create bakery-quality garlic rosemary bread at home using a Dutch oven. This rustic loaf combines aromatic fresh garlic and fragrant rosemary for incredible depth of flavor. The Dutch oven method creates a steamy environment that produces a crackling golden crust while keeping the interior tender and airy.
The process requires just 20 minutes of active preparation, followed by a long, slow rise that develops complex flavors. The result is a showstopping bread perfect for dipping in olive oil, pairing with pasta, or enjoying warm from the oven.
The smell of garlic and rosemary hitting hot olive oil is basically aromatherapy for bakers, and this bread captures that exact moment in loaf form. I started making this during a particularly cold February when my apartment felt like it needed more than just central heating to feel cozy. Now its the bread that makes friends linger around the kitchen island instead of heading home.
Last autumn my neighbor smelled this baking through our shared wall and actually knocked on my door to investigate. I ended up giving her a warm slice with butter right there in the hallway, and now we coordinate our baking schedules. Theres something about homemade bread that turns neighbors into family.
Ingredients
- Bread flour: The higher protein content creates the chewy texture and structure that makes rustic bread so satisfying to eat
- Fine sea salt: Coarser salt can leave salty pockets, but fine salt distributes evenly throughout the dough
- Active dry yeast: A small amount works perfectly for this slow rise, developing deeper flavor than quick-rise methods
- Lukewarm water: Too hot kills the yeast, too cold wakes it up slowly, aim for bath temperature
- Olive oil: Keeps the crumb tender and adds a subtle fruity note that plays beautifully with rosemary
- Fresh garlic: Minced small so it disperses throughout, creating little pockets of aromatic warmth
- Fresh rosemary: Woody herbs hold up better than delicate ones, and fresh makes a huge difference here
Instructions
- Mix your foundation:
- Whisk the flour, salt, and yeast together thoroughly, then stir in the water and olive oil until a rough, shaggy dough forms
- Fold in the aromatics:
- Add your minced garlic and chopped rosemary, folding gently until theyre evenly distributed throughout the dough
- Let it do its thing:
- Cover the bowl and walk away for 2 to 3 hours while the dough rises and relaxes into a bubbly, live mass
- Shape with intention:
- Turn the dough onto a floured surface and gently form it into a ball, creating tension on the surface without compressing the interior
- Preheat your vessel:
- Put your Dutch oven in the oven and heat to 450°F for at least 30 minutes while the dough does its final rise
- Create the steam:
- Carefully transfer the dough into the screaming hot Dutch oven, cover immediately, and bake covered for 30 minutes
- Reveal the magic:
- Remove the lid and bake another 12 to 15 minutes until the crust turns that deep golden brown that makes you want to tear right in
 Save to Pinterest
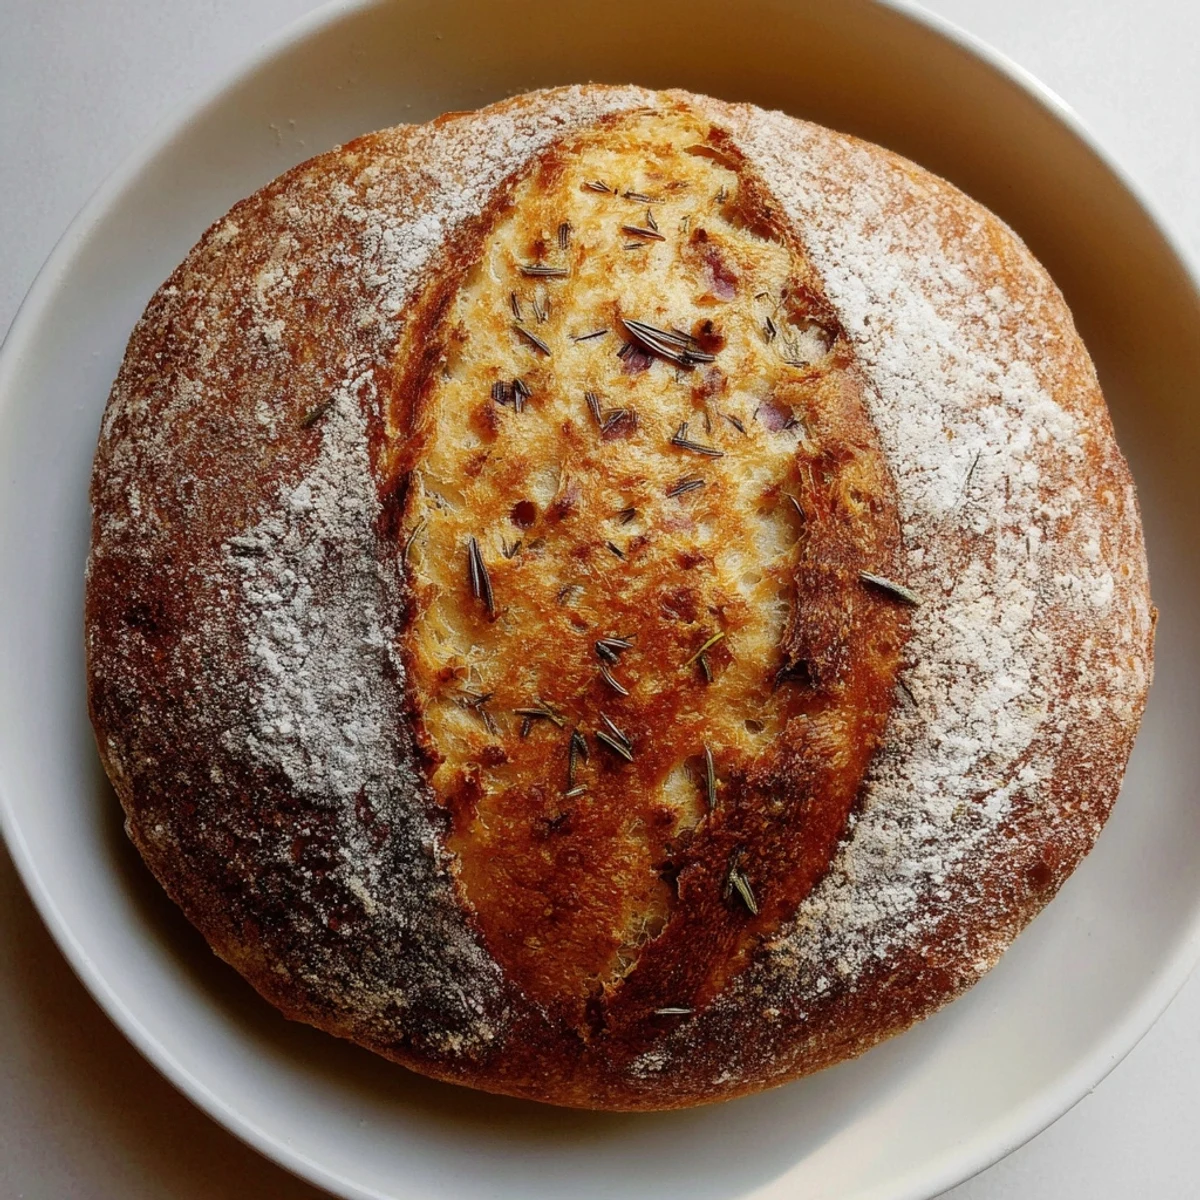
 This bread became my go-to housewarming gift after I brought it to a friends first apartment and she texted me at midnight saying she ate the entire loaf standing in her kitchen. Theres something so giving about bread, so fundamental and welcoming, that it turns any gathering into something special.
Choosing Your Dutch Oven
Cast iron or enameled Dutch ovens both work beautifully here, but the key is having one thats at least 4 quarts to give the loaf room to expand. I have a 5-quart that I use for everything from braising to baking, and its developed this seasoning that makes everything taste better. If youre using cast iron without enamel, the heavy weight holds heat incredibly evenly.
Getting Creative with Add-ins
Sometimes I swap rosemary for thyme or add chopped olives, but I never mess with the garlic. The first time I added roasted garlic instead of fresh, the bread became almost sweet, which was interesting but not what I wanted. Fresh garlic here bakes into something milder and more complex than raw, but still sharp enough to cut through the rich crumb.
Making It Your Own
This dough is incredibly forgiving, which is why it became the first bread recipe I could actually make consistently. Start with the classic version, then trust your instincts about what you love. The technique matters more than the exact measurements.
- Kalamata olives and a bit of feta turn this into a Mediterranean showstopper
- Sun-dried tomatoes add chewy bits of umami that make every slice interesting
- A sprinkle of coarse sea salt on top before baking creates that professional finish
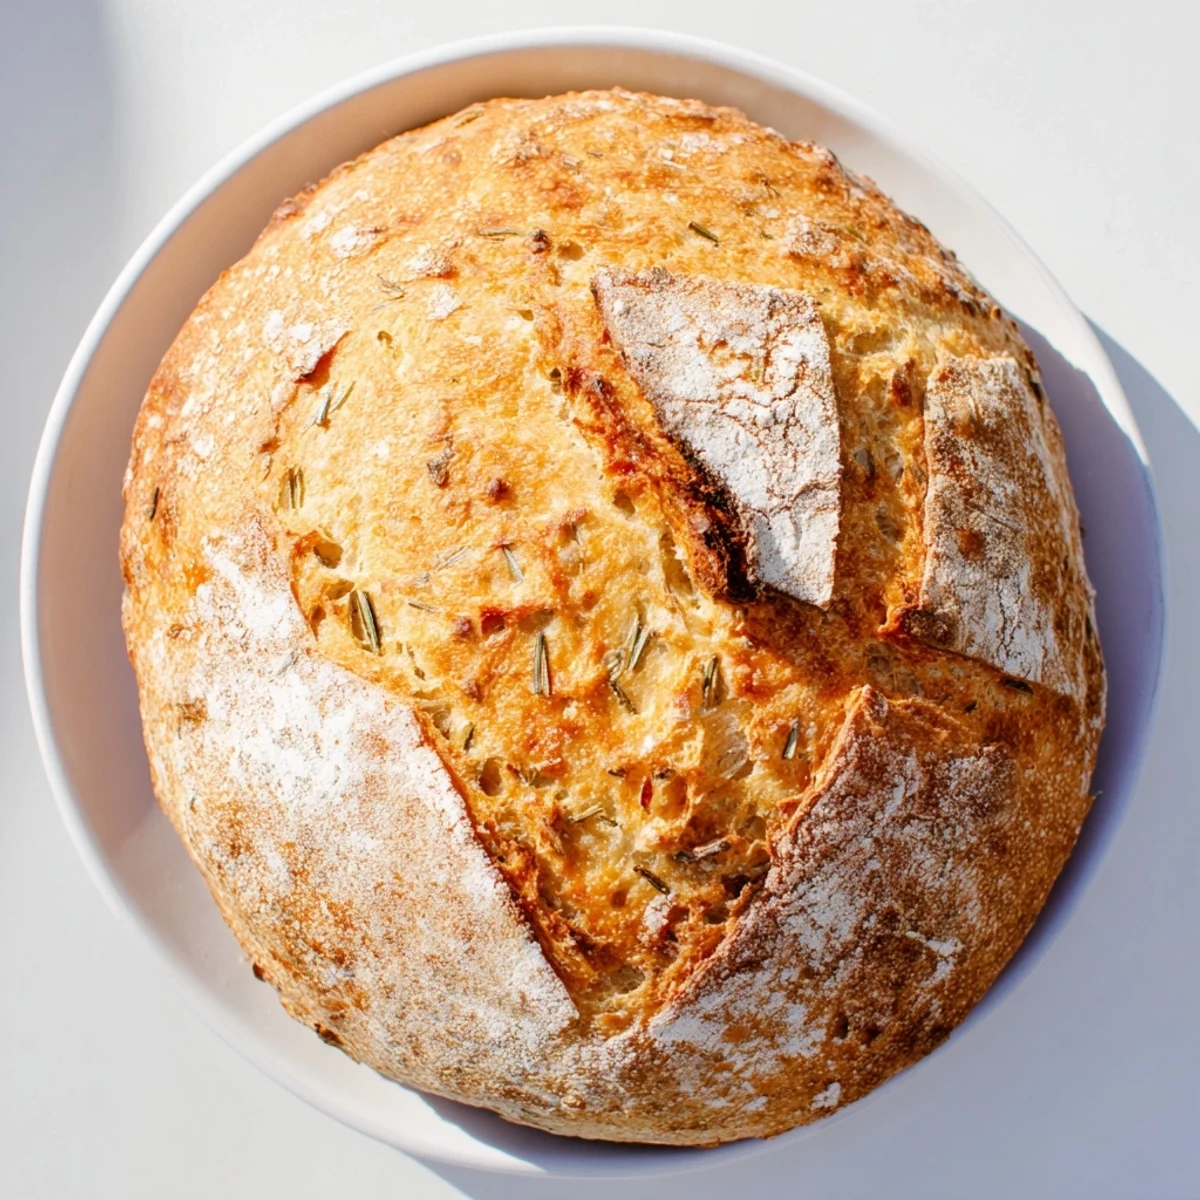 Save to Pinterest
 Theres a reason bread is the universal symbol of hospitality and home. It feeds something deeper than hunger.
Recipe FAQs
- → Why use a Dutch oven for bread?
-
A Dutch oven creates a steamy, enclosed environment that mimics professional deck ovens. The trapped moisture helps the bread rise fully while developing a thick, crisp crust that stays beautifully golden.
- → Can I use dried rosemary instead of fresh?
-
Fresh rosemary provides the best aromatic flavor, but you can substitute dried rosemary. Use about 1 tablespoon of dried rosemary since the flavor is more concentrated than fresh.
- → How do I know when the bread is done baking?
-
The bread is ready when the crust reaches a deep golden brown color and sounds hollow when tapped on the bottom. An instant thermometer inserted into the center should read 200°F (93°C).
- → Can I freeze this bread?
-
Absolutely! Wrap the cooled loaf tightly in plastic wrap and foil, then freeze for up to 3 months. Thaw at room temperature and refresh in a 350°F oven for 10 minutes to restore the crust.
- → What can I serve with garlic rosemary bread?
-
This versatile loaf pairs beautifully with pasta dishes, soups, and stews. It's also delicious toasted with butter, dipped in olive oil and balsamic vinegar, or used for panini sandwiches.
- → Why does the dough need to rise twice?
-
The first rise develops flavor and allows yeast to ferment. The second rise, called proofing, gives the dough its final shape and creates the airy interior texture. Skipping either step will result in dense bread.