 Save to Pinterest
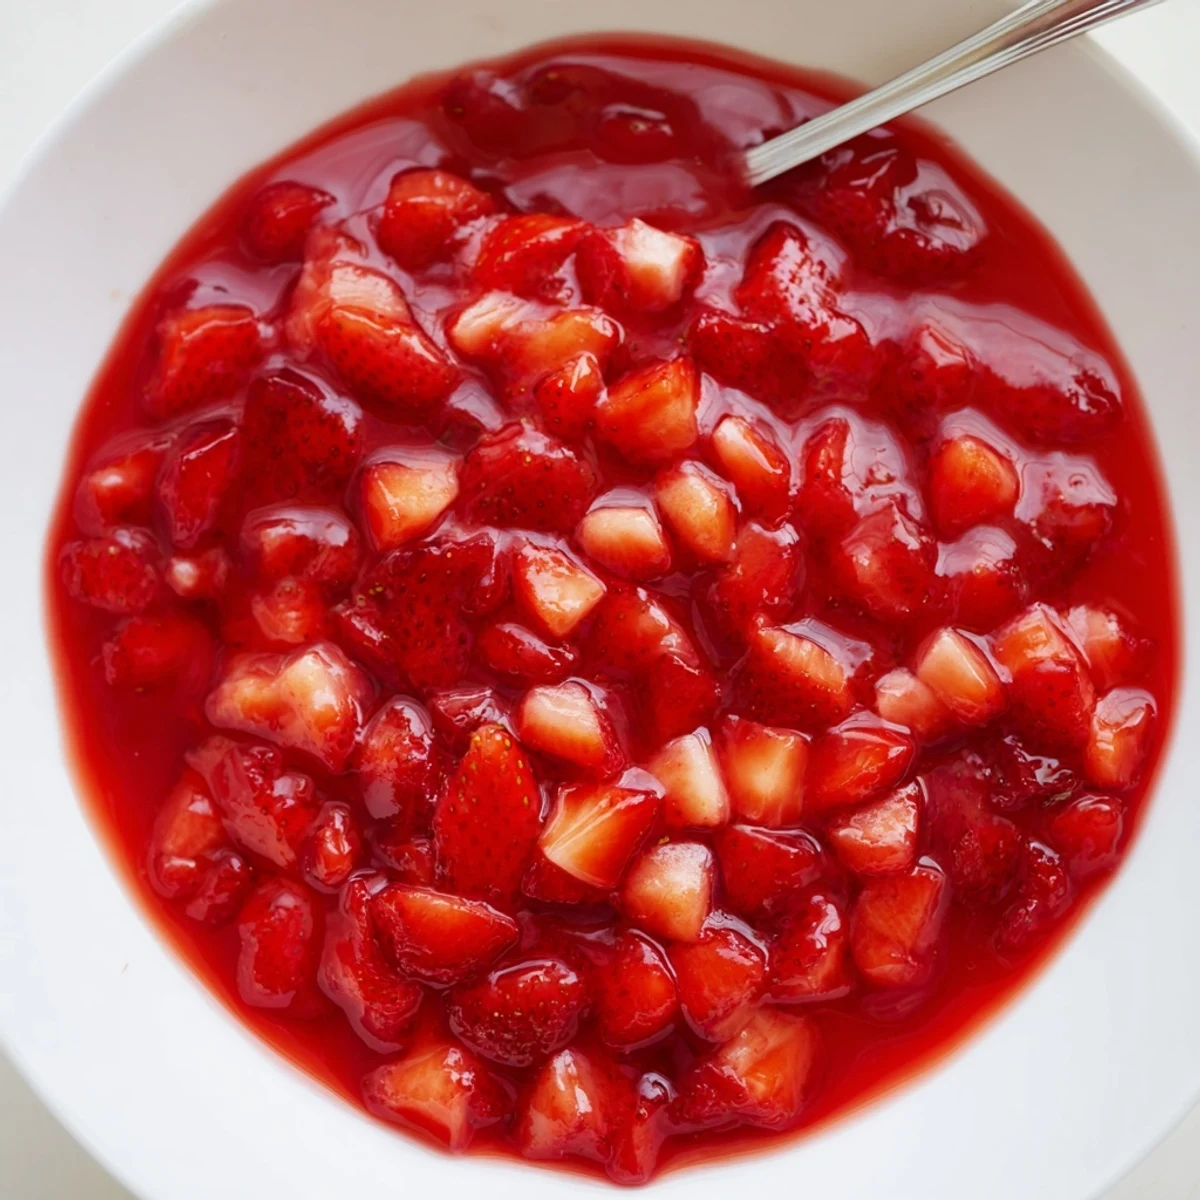
 This quick strawberry cake filling uses fresh diced berries cooked briefly with sugar and lemon, then thickened with a cornstarch slurry until glossy. Cook 5–7 minutes for the berries to release juices, add the cornstarch mixture, simmer 3–5 minutes, then cool to firm up. Stir in vanilla if desired. Yields about 2 cups and keeps refrigerated up to 5 days.
The hum of early summer always finds me with a basket of ripe strawberries, their scent practically begging to become something more. It’s funny how a handful of ingredients can transform into a cake filling that tastes bright enough to stand on its own. My kitchen feels lighter when a pot of berries simmers away, the steam swirling up with hints of sun and grass. There’s an easy reward about this recipe that makes it tough not to sneak a spoonful before the cake is even ready.
Once, I made this on a muggy Tuesday afternoon for my friend’s birthday layer cake, discovering halfway through that her two kids were intent on ‘helping’—meaning strawberries disappeared at an alarming rate. We ended up with a slightly smaller batch, but their sticky smiles made it impossible not to laugh. We finished the filling together, eager taste-testing with leftover cake scraps. Now I expect extra little hands every time I offer to bake for her family.
Ingredients
- Fresh strawberries: Choose berries that are fully red and fragrant; I’ve learned underripe ones give less intense flavor.
- Granulated sugar: Sweetens the berries just enough—adjust depending on your strawberries' sweetness.
- Lemon juice: A splash brings out the fruit’s vibrancy; freshly squeezed is worth the tiny extra effort.
- Cornstarch: This is the key to a thick, luscious filling that holds its shape between cake layers, but mix it with cold water first to avoid lumps.
- Water: Helps combine the cornstarch smoothly and gives the filling its glossy finish.
- Vanilla extract (optional): Adds warmth in the background, but skip it if you want the strawberry taste to stand alone.
Instructions
- Mix the berries:
- Toss your diced strawberries, sugar, and lemon juice in a saucepan, letting everything get juicy as you stir.
- Steam and soften:
- Heat the pan over medium, stirring occasionally; you’ll hear gentle bubbling and see the berries relax into a ruby pool after 5-7 minutes.
- Whisk the slurry:
- In a small bowl, combine cornstarch and water until totally smooth—no gritty streaks allowed.
- Thicken and finish:
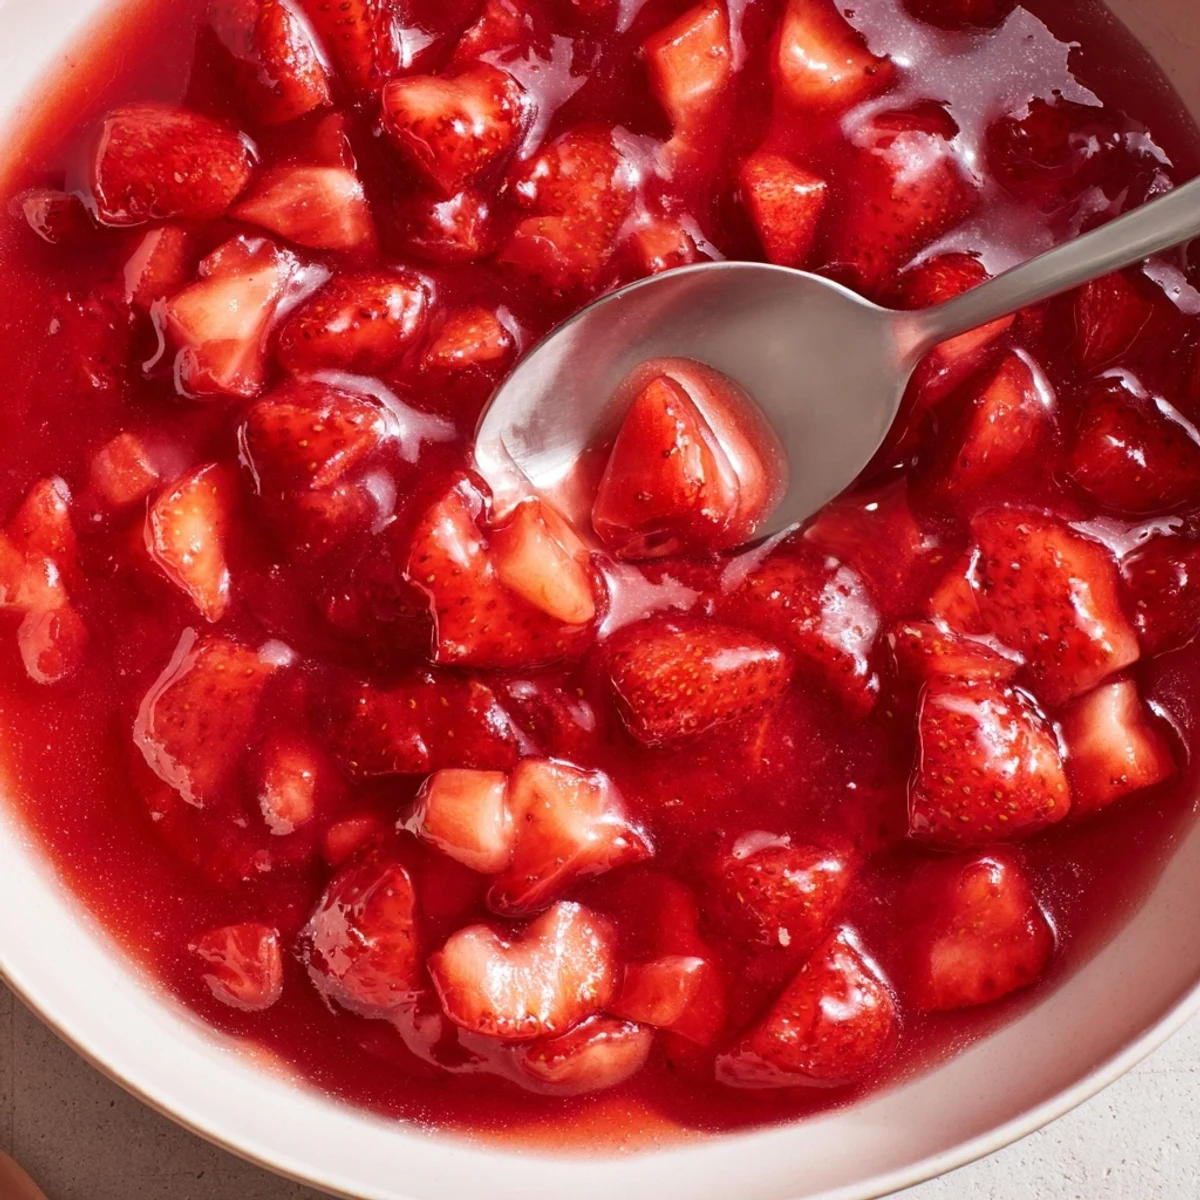
- Pour the cornstarch mixture into your saucepan, stirring constantly as the filling transforms from runny to glossy and thick, about 3-5 more minutes.
- Add flavor and cool:
- Off the heat, stir in vanilla if you like, then let it cool completely; patience here means the filling won’t slip out from your cake.
- Storing leftovers:
- Keep any extra in a sealed container in the fridge for up to five days—it’s amazing stirred into yogurt or spread on toast, too.
 Save to Pinterest
 I still remember the time my niece called it ‘cake jam’ and demanded an extra scoop right on her slice. The way her eyes lit up made me realize that sometimes the simplest additions to a recipe can create the most memorable moments at the table.
How to Make It Your Own
Don’t hesitate to swap in raspberries or blueberries if you find a good deal at the market—they each bring their own personality to this filling. Sometimes I even mash the strawberries a bit for a smoother spread, especially when my cake layers are delicate. A splash more lemon makes it pop if you like things tangy, but it’s just as lovely kept mild for little ones.
Ways to Use This Filling
This filling is a friend to more than just cake; I dollop it onto pancakes when I want breakfast to feel special, or swirl it into vanilla yogurt for a quick dessert. It’s also perfect stuffed inside donuts or thumbprint cookies, bringing a pop of color and flavor wherever it lands. Even a spoonful over plain ice cream feels like a tiny celebration.
Quick Fixes and Final Tips
If your filling seems too thick, just stir in a teaspoon or so of water to loosen it up. Taste before it cools—sometimes a pinch more sugar or squirt of lemon is all it takes to get it just right. Smooth or chunky, there’s no wrong way here.
- If you want a smoother texture, blend with an immersion blender when it’s still warm.
- Check that your berries are bright red all the way through for the best color and flavor.
- Let the filling cool fully—your cake layers will thank you.
 Save to Pinterest
 Enjoy experimenting with this strawberry filling—whether it goes between cake layers or finds new life in your breakfast, it’s bound to be a sweet addition to your kitchen traditions.
Recipe FAQs
- → How can I make the filling smoother?
-
For a silkier texture, mash the strawberries with a fork while cooking or blend briefly with an immersion blender before adding the cornstarch slurry. Straining through a fine sieve removes seeds and gives a glossy finish.
- → What can I use instead of cornstarch?
-
Arrowroot or tapioca starch can replace cornstarch in a 1:1 ratio; cook gently as arrowroot can break down under prolonged heat. For a softer set, use slightly less starch and cool completely to allow thickening.
- → How do I prevent the filling from becoming too runny?
-
Ensure the cornstarch is fully dissolved in cold water before adding to hot fruit, and simmer until the mixture turns glossy and thickens. Cooling further firms the filling, so chill before assembling layers.
- → Can I make the filling ahead of time?
-
Yes. Cool completely, transfer to an airtight container and refrigerate up to 5 days. Reheat gently to loosen if needed, stirring to restore gloss before using between layers or in pastries.
- → Will other berries work the same way?
-
Raspberries and blueberries work well with the same method; adjust sugar to taste as some berries are tarter. Note that raspberries may yield a looser texture due to seeds—strain if a smoother result is desired.
- → How do I adjust sweetness and acidity?
-
Taste the cooked fruit before adding starch and adjust sugar or lemon juice. More lemon brightens flavors and balances sweetness; add gradually to avoid over-tartness.